Exploration of Theme
Main Themes
- Horror
- Science Fiction
- Fantasy
- Historical
Sub-Themes
- Alien
- Corruption
- Utopia
- Dystopia
- Celebration
- Decay
- Family
- Beauty
For my 3D Asset and subsequently Environment, I chose Science Fiction for my main theme, and Alien as the sub theme. I chose these two due to them complimenting each other.
Science Fiction was chosen because I felt like I could explore the theme more freely; for example to make something historical most of the time you have to replicate and use similar structure methods as to things in the past. I didn’t chose Horror as that and alien typically are used in cliches and I wanted to avoid the repetition. Fantasy was out the question due to it being more stylized than most things and that is far out of my comfort zone at the moment.
Alien was chosen because I felt like I could branch out into a multitude of different structures that we don’t typically see in real life. Alien is also more familiar with sci fi than most other things and I felt like I could use that to my advantage as both themes fit each other.
Research
Researching is one of the most important parts of making an asset, most of the time you cant go in and create, you have no reference; and since we aren’t going for something fully original we can use references to merge and create new things from already existing material.
Pod Plan
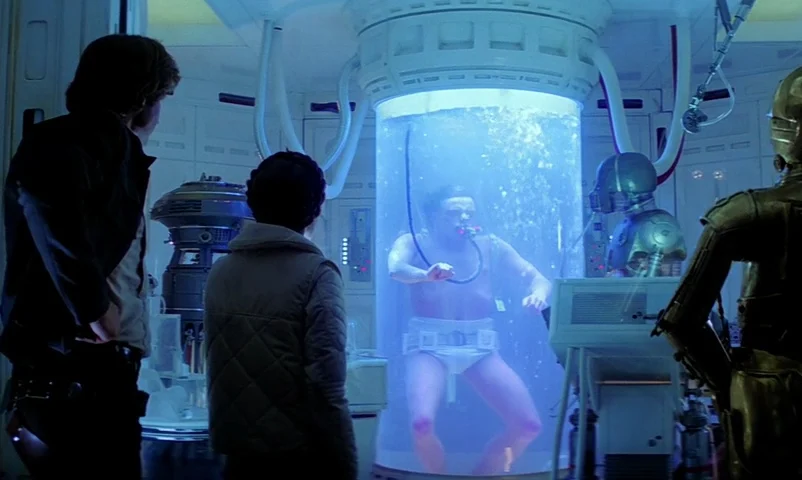
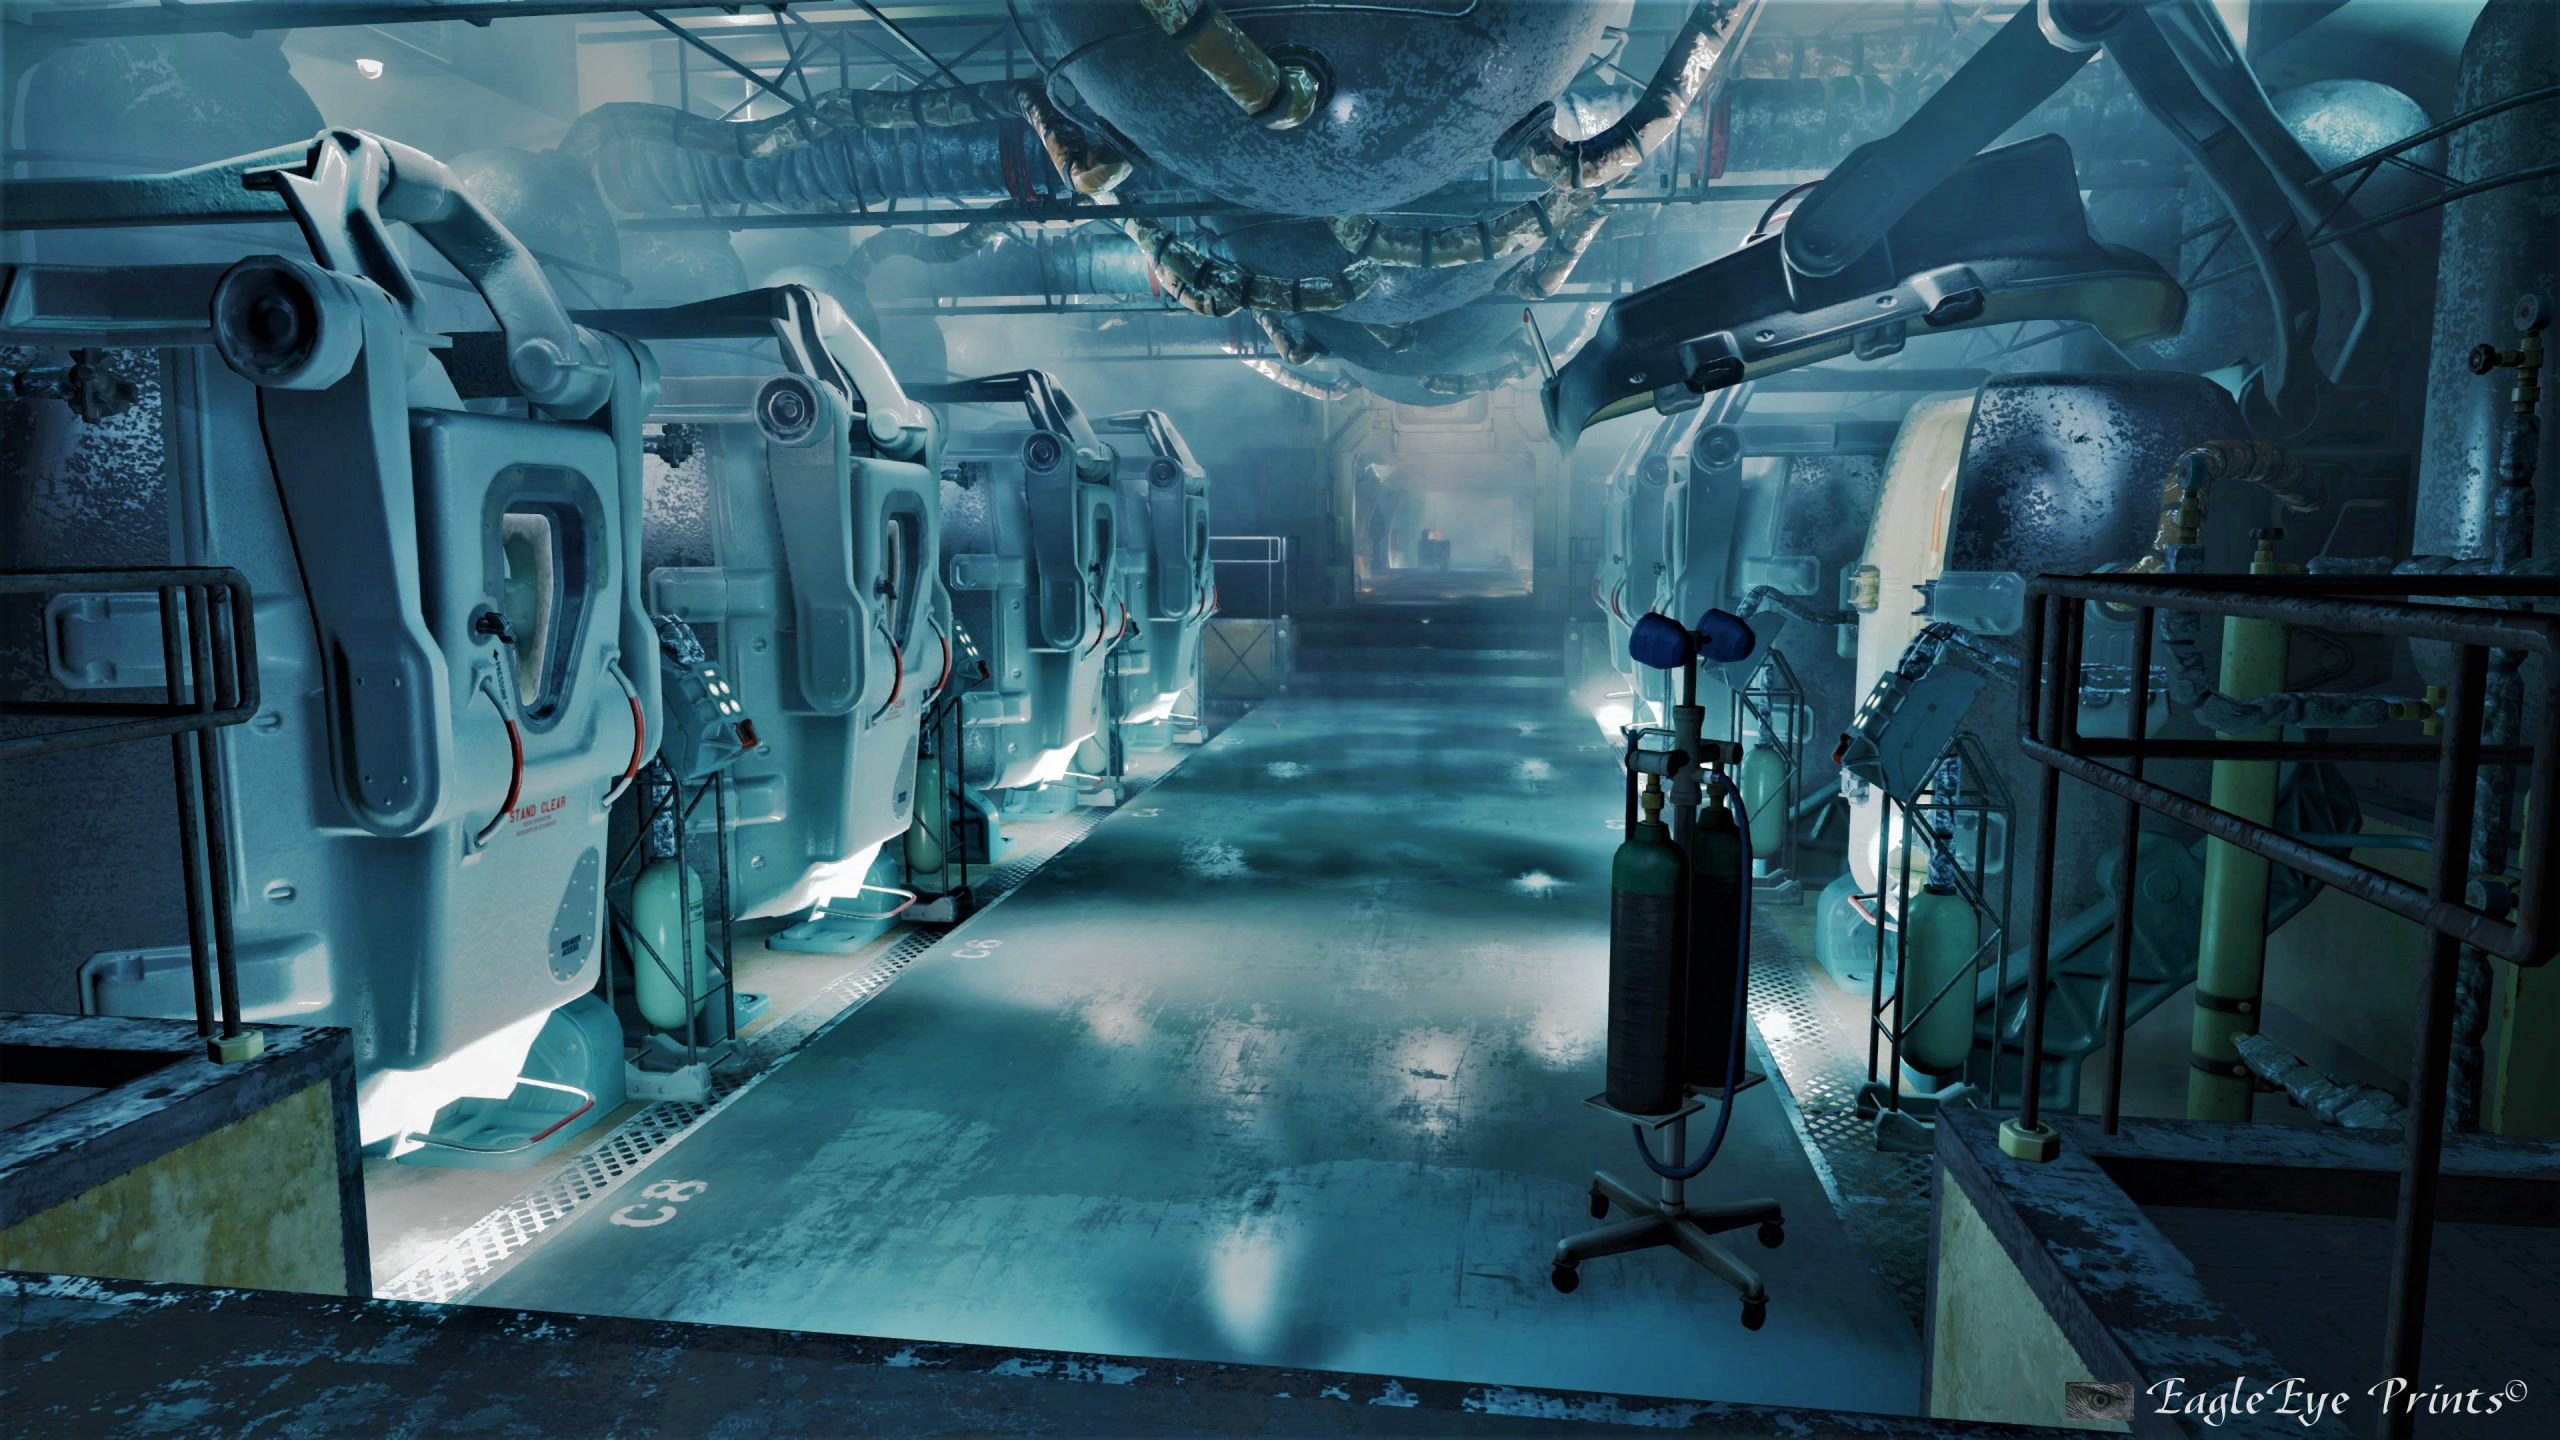
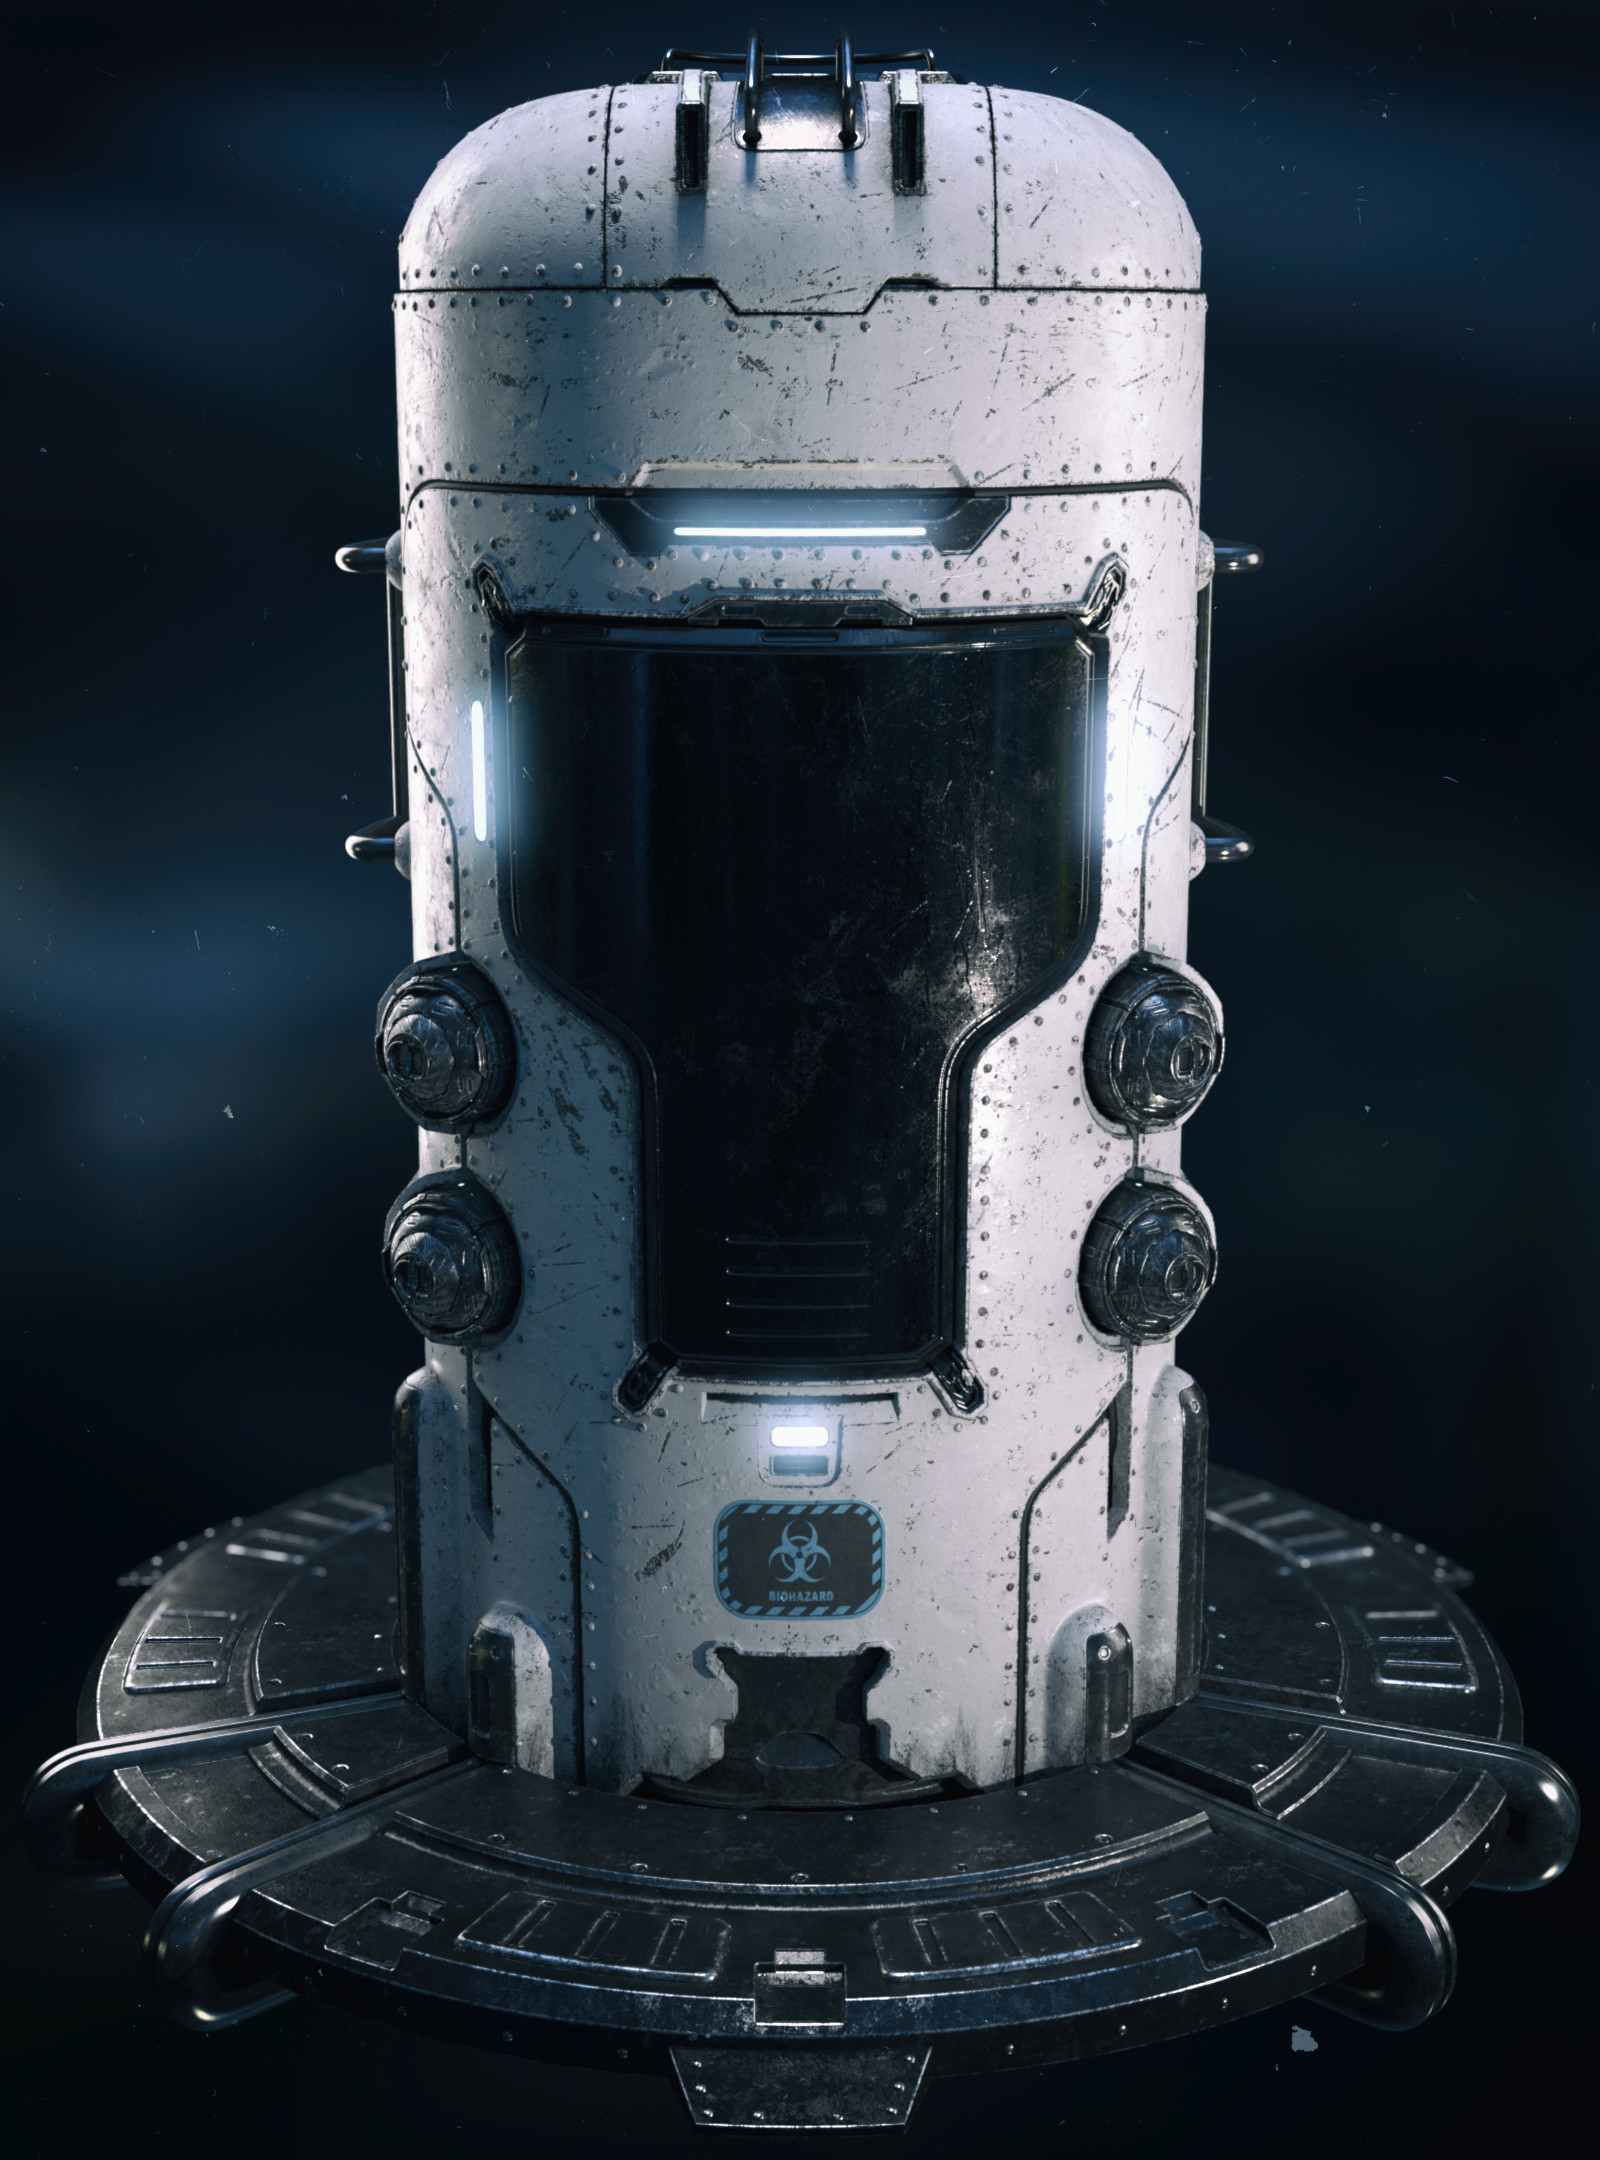
I chose to design my concept around a bacta tank from Star Wars. I did this as I felt it fitted what I wanted to do very nicely. I also used the cryo-pods from fallout 4 as reference. Using the harsher edges from the cryo-pod and the cylindrical design of the bacta tank, I was able to create a decent looking start.
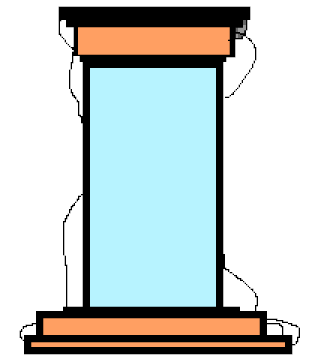
I made a quick plan as too not lose the feeling of what I had thought of. The more time I would have spent just in the studio the more I could have deviated from the original idea.
The vat is used to study the biological life forms on an alien planet, once the alien DNA sample is put in it can then start to study the creature with a hologram form. This ensures the safety of the scientists and makes sure the science base is secure at all times.
Why is it a centrepiece
The vat is a centrepiece due to it’s importance to the story I am trying to create with the environment. I wanted a scientific base/vault such as the vaults from the Fallout series. and I also wanted a scientific approach with the film series Alien. I wanted the vat to seem familiar and yet nothing you have seen before, this is Liminal space.
Alien Plan
When creating an alien design you should always be inspired by the natural world with bug and animals. The animals that inspired me was: Scorpion, Angler Fish. While the science fiction sources I used was: Face hugger and the thing from The Thing.
Using these I was able to make a quick sculpt in blender to try create my own alien creature. it never had to be very detailed due to it being a hologram in the end stages.
High Poly Model
High Poly Alien Model
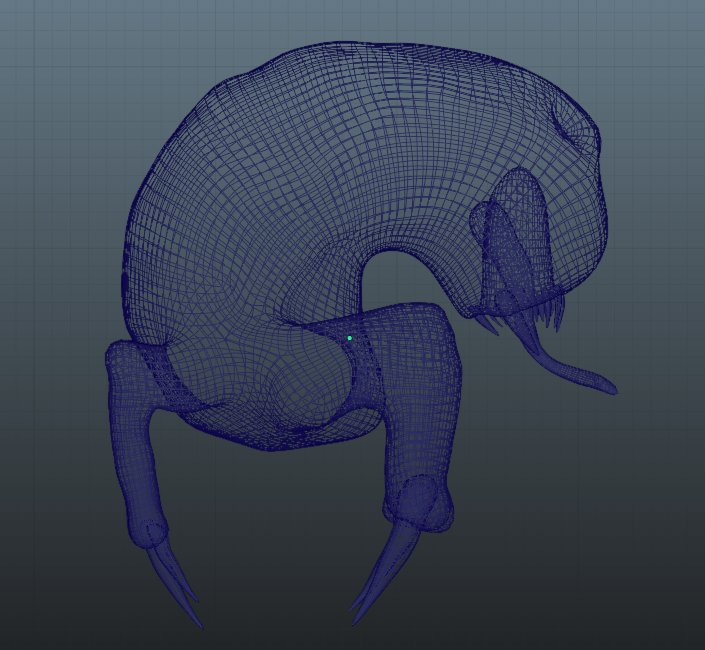
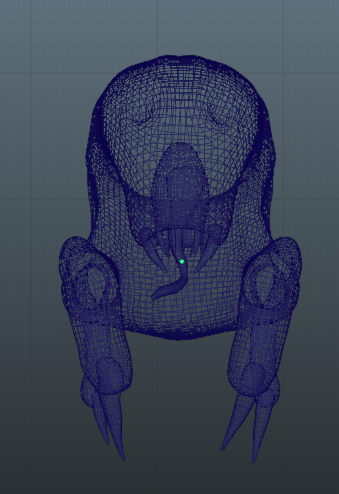
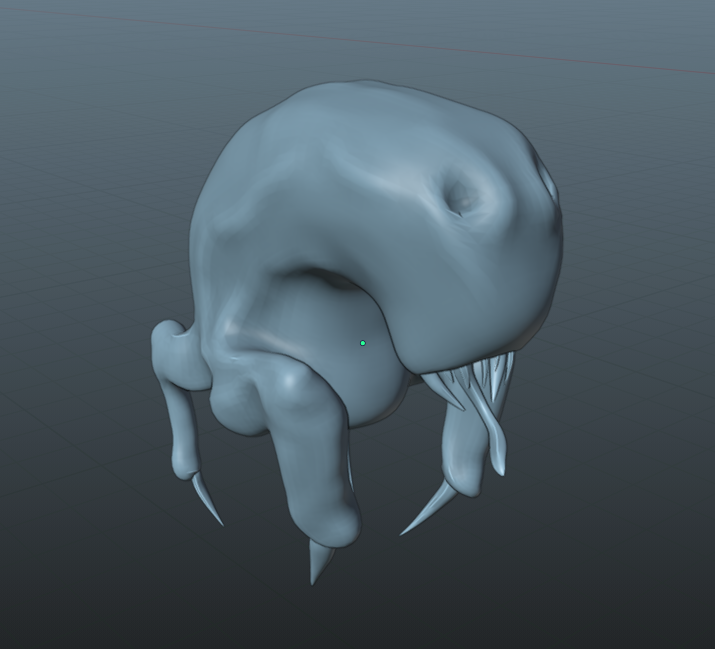
I wanted to make it look as unnatural as possible while retaining some traits you might see in the wild, you can tell low it would walk and how it eats. as long as people know that it is supposed to be a creature and not an object it the general purpose is done.
The alien is only used in the environment design work due to it being used by the Niagara system with in UE5. It was used to create a hologram. Therefore this is no longer used with in the 3D asset design piece. It looks like it misses a lot of the alien inspiration that it started off with, but once mixed in with the environment it is distinctively not designed to hold humans.
High Poly Vat Model
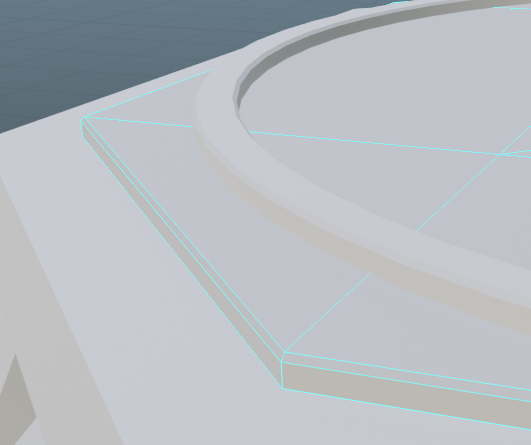
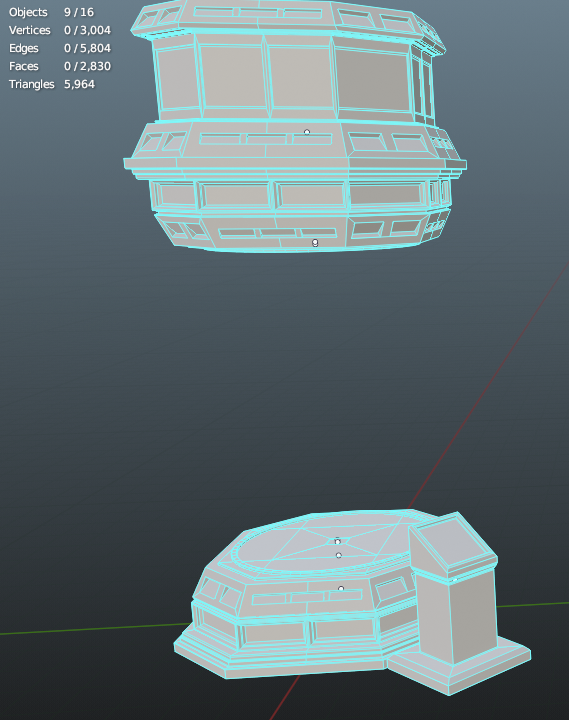
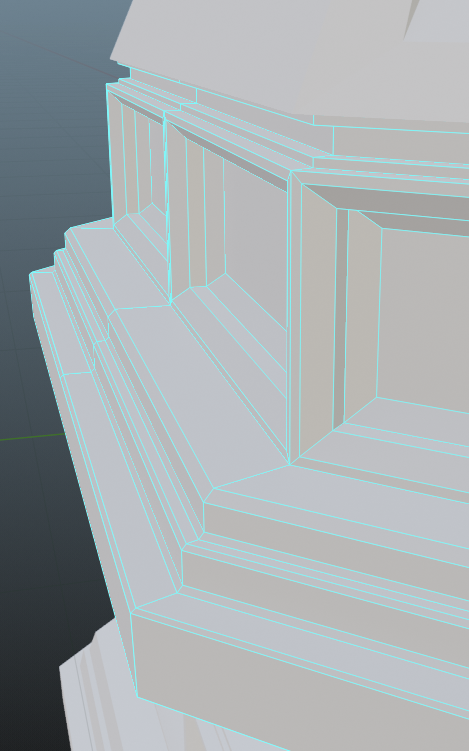
The High Poly model of the vat is mostly due to the bevels, bevels can be faked with a normal map decently well. This is the main way I reduced the vat down to lower than 10k poly’s.
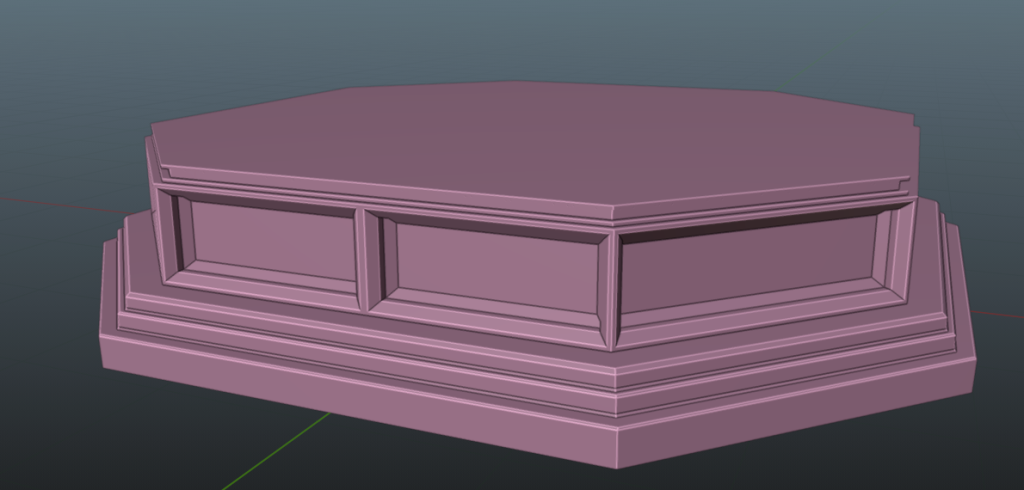
Starting off with the base plate, having this as high poly as it is isn’t needed. therefore after we do this I go in and bake the high poly detail into the low poly model. This applies for all the other objects. This is done by getting rid of most bevels but not getting rid of large chucks as normal maps don’t displace geometry, this could lead to visual bugs and it not looking right.
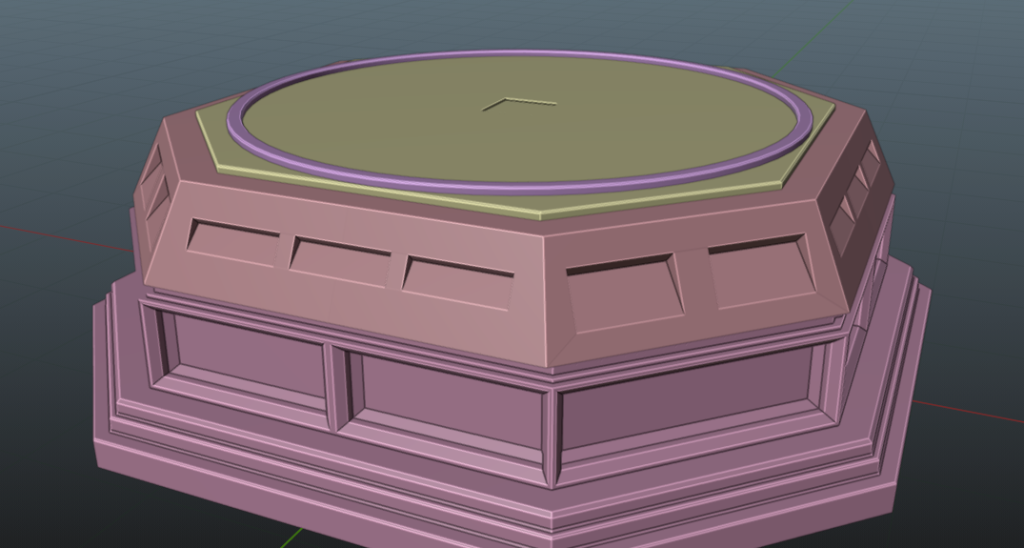
Adding more detail to the Base.
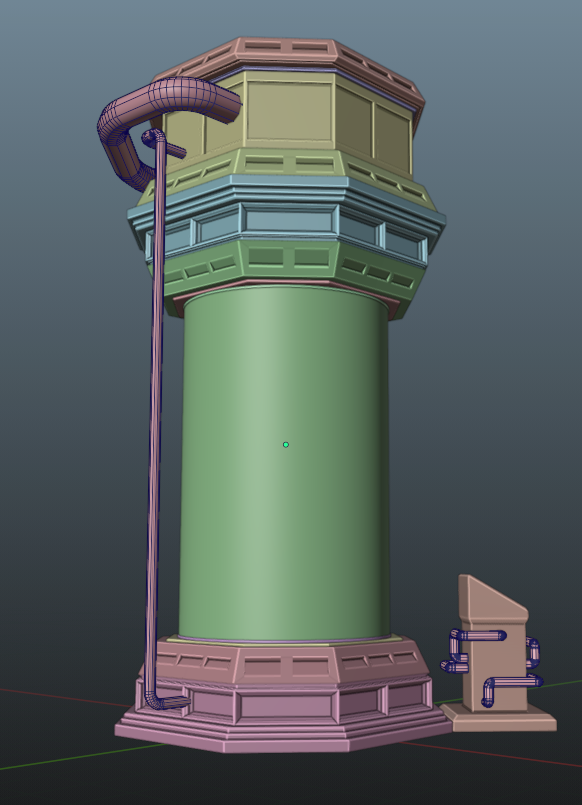
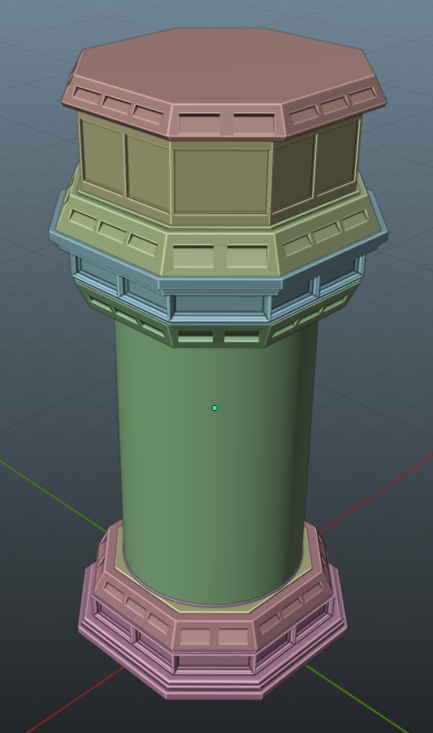
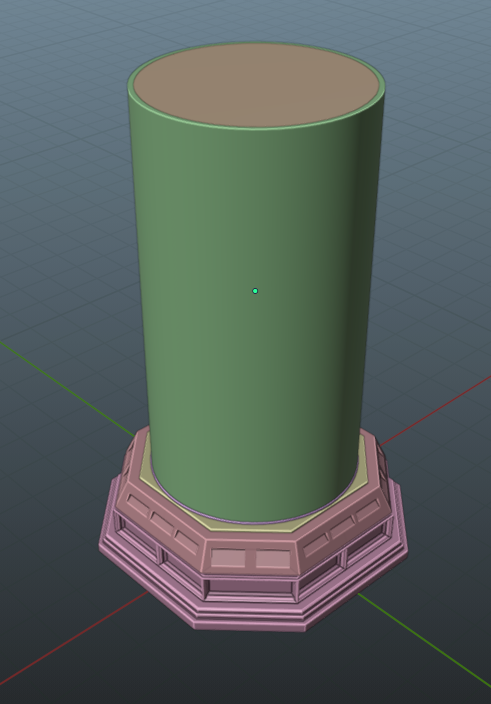
Adding the Tube, to plate and the pipes as seen in the plan. The volumetric tube in the middle is no longer used due to using a different system in UE5. I used Niagara hologram system instead of a volumetric solution.
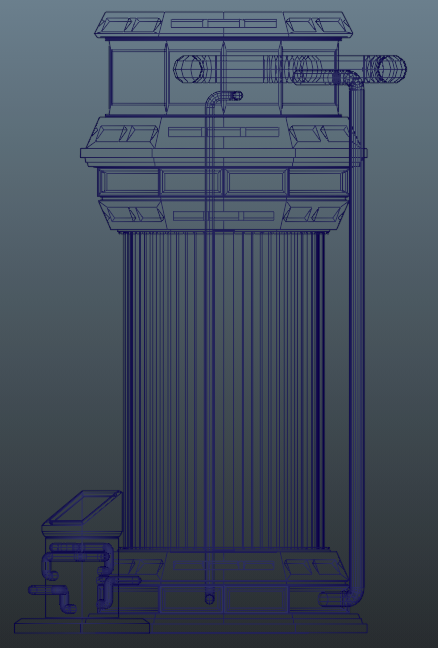
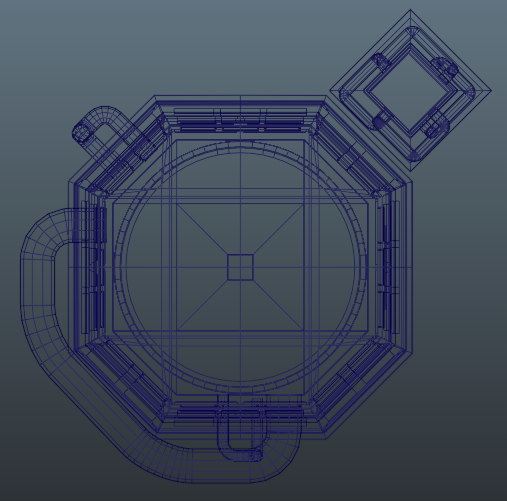
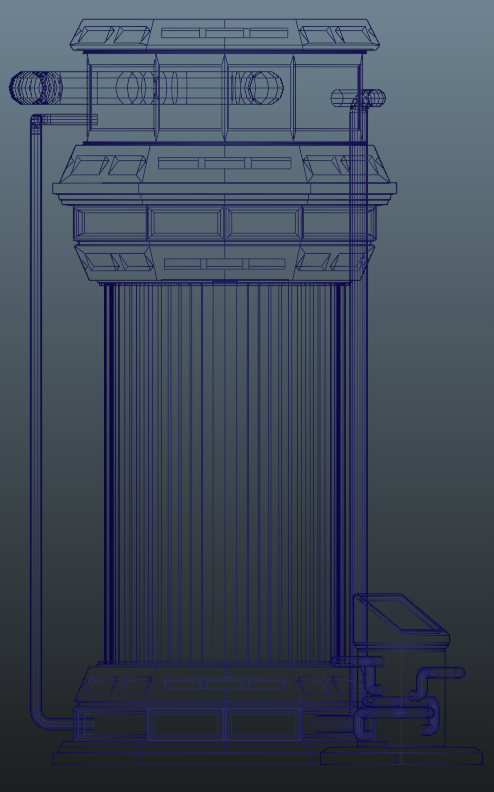
Wireframe
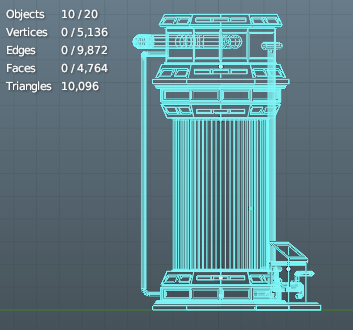
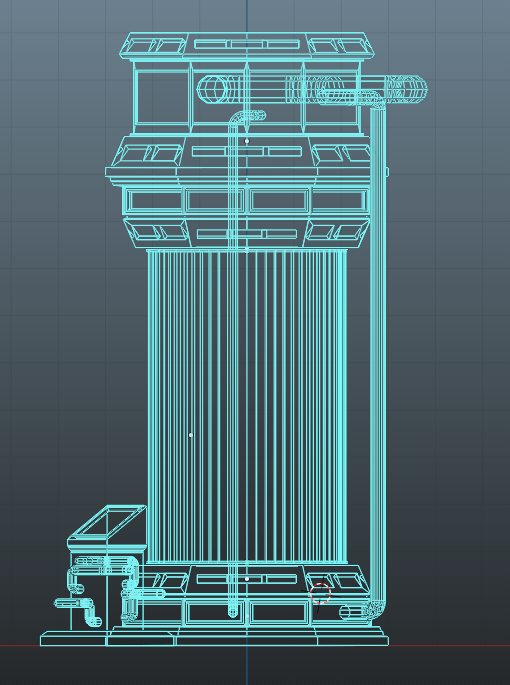
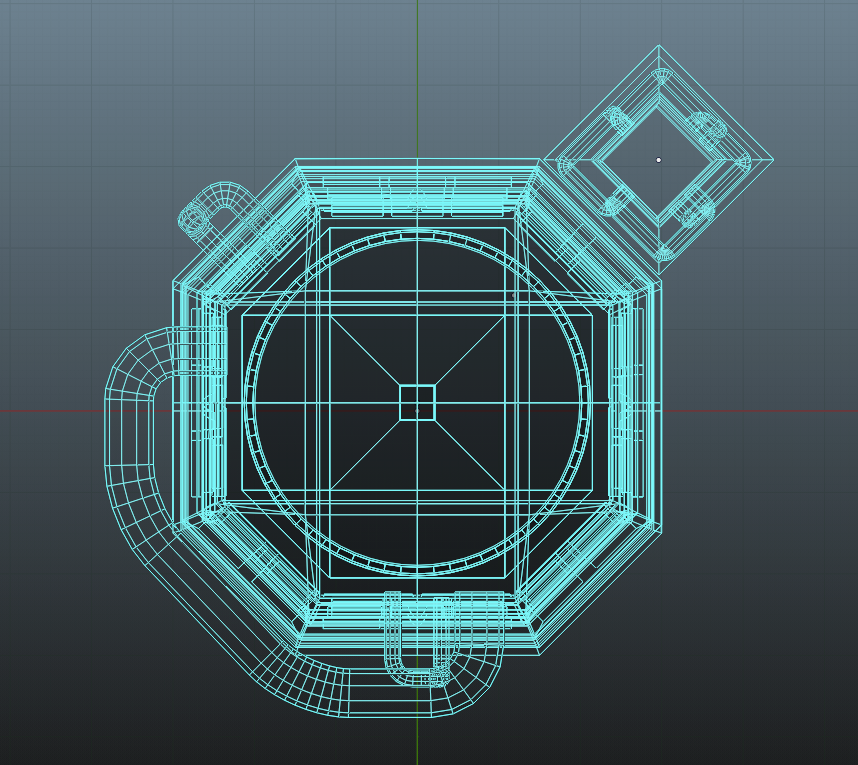
The overall poly count for the High Poly model was 10,096 Poly’s, this is particularly good as the maximum is 10k polys on the low poly model. The main way of reducing polys were to simplify the pipes turns and also getting rid of unimportant bevelling as of which I can fully replace with normal maps.
Low poly
Low poly models typically have good topology when compared to the high poly models, low poly models can typically go up to 10k tris before they are no longer considered low poly. This means we can create things with decent realism without being high poly. A lot of the work made to fake polys are things called normal maps as of which I used in conjunction to make sure the low poly looks just as good as the high poly.
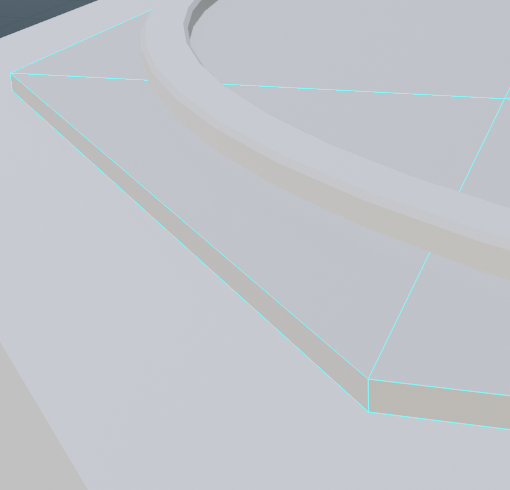
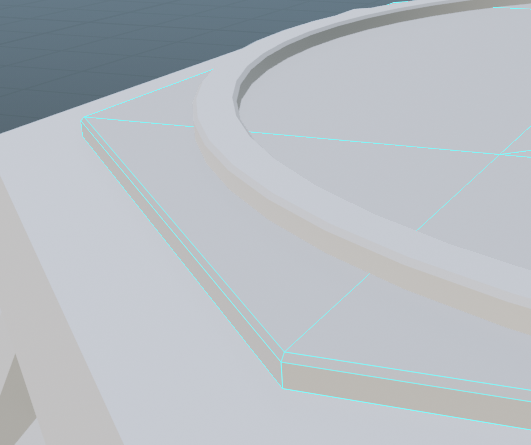
Taking away all unnecessary bevelling. Left is Low poly. The way to take away bevelling the easy way is to dissolve one of the edges, most of the time this works but sometimes manual tweaking needs to happen due to geometry glitches.
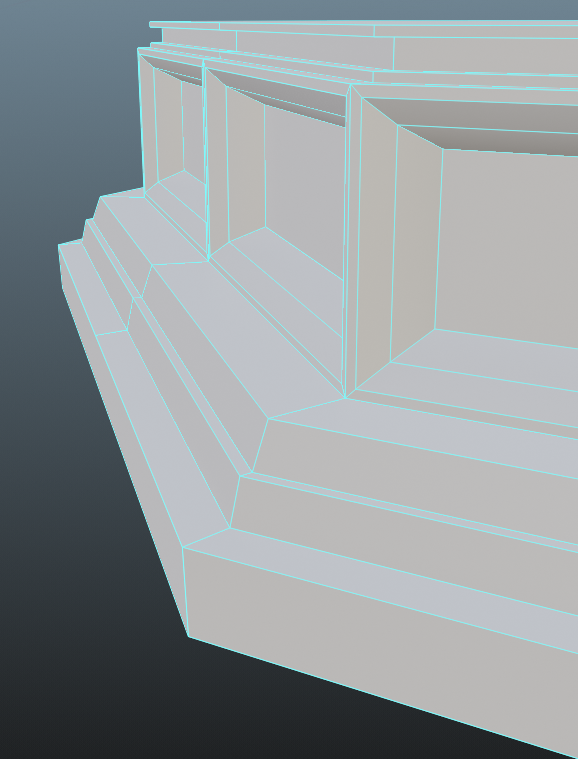
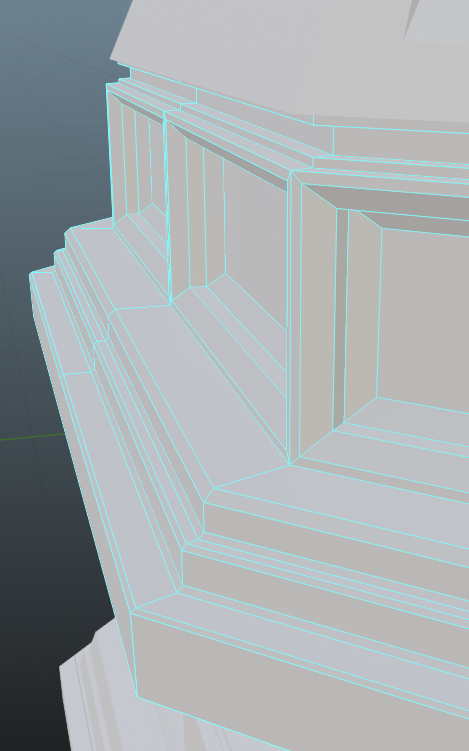
Taking away bevelling. Left is Low poly.
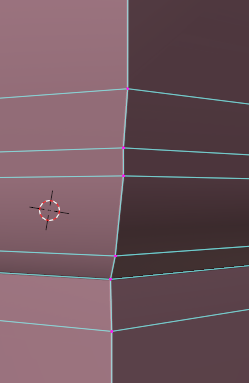
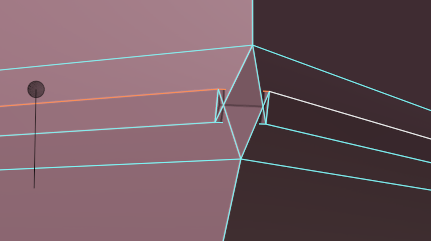
Cleaning up geometry as so they don’t mess up any UV mapping and also to reduce poly count.
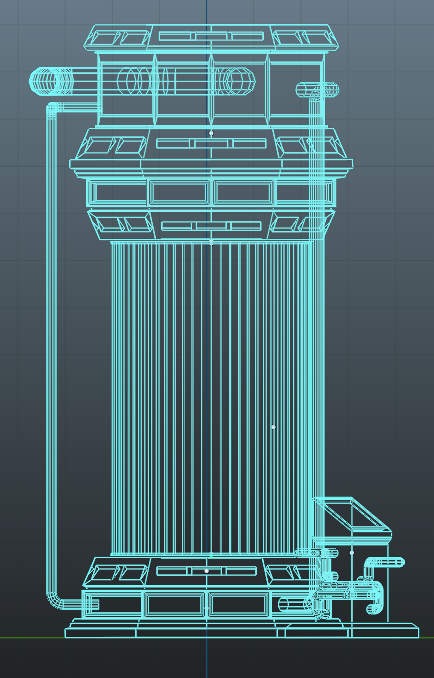
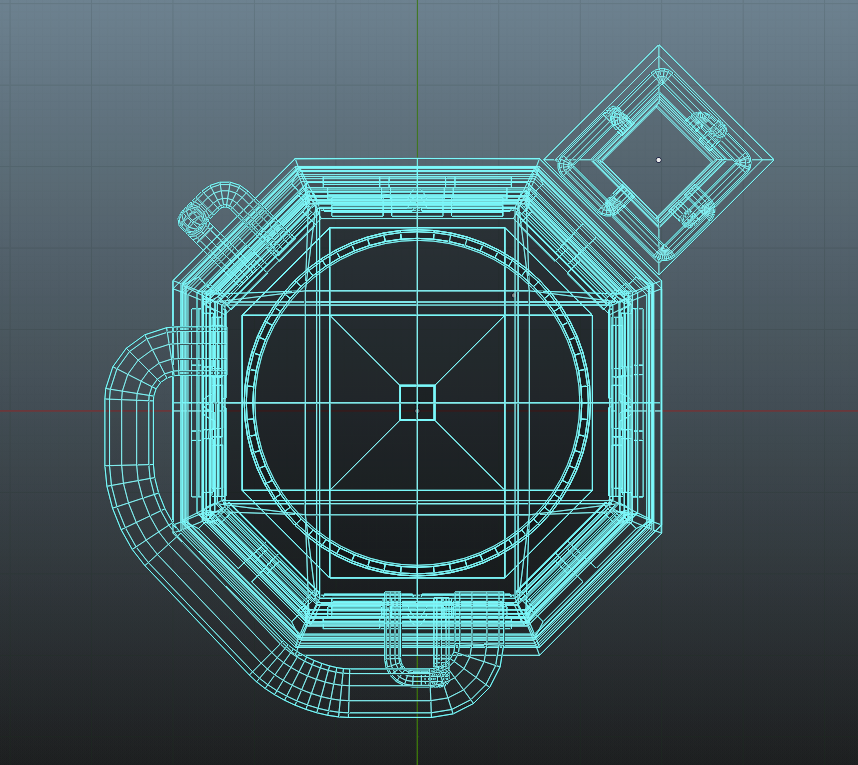
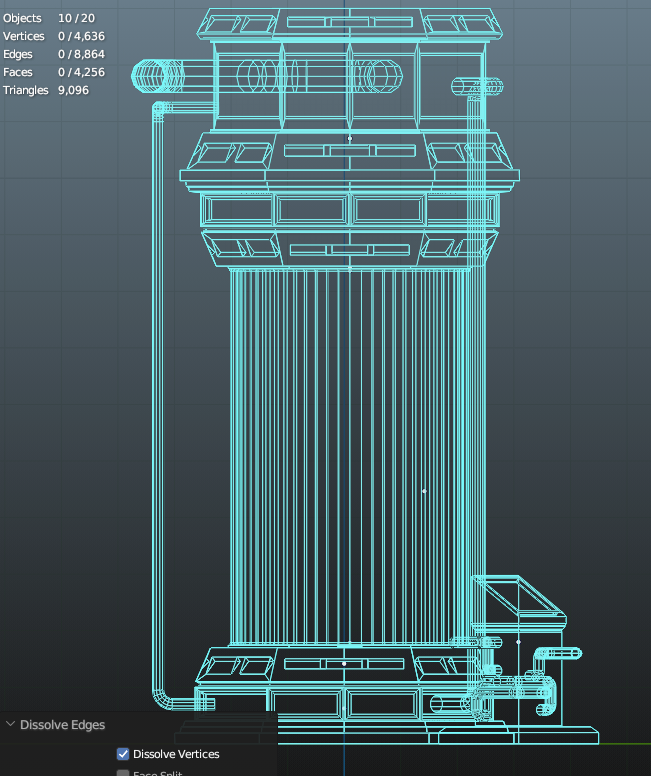
The low poly model ended up being 1000 less polys than the high poly model. The poly count sits at 9096 polygons.
UV Unwrapping
UV Unwrapping is a vital process whilst making a model, this is because it is the unwrapped version of the model. This is a 2d representation of a 3d model, this allows you to place textures onto the model with out it being misplaced. It is also vital for baking high poly detail on a low poly model.

Setting the scale to make sure all the UV’s are no longer mis-shaped. I did this with every piece on both HP and LP models.

After using an auto unwrap feature you can have something look like this. Unfortunately this isn’t as compact as it can be and it could lead to a loss of texture fidelity. This is why i bought an add on which stops this. It is called UVPackmaster 3.
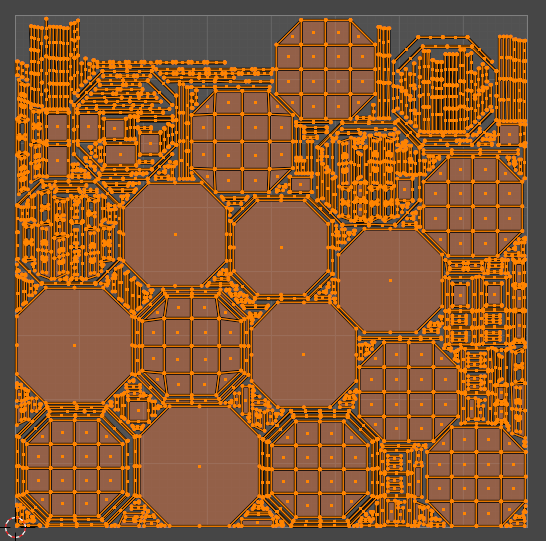
This allows me to fit a lot more textures onto the space given.
Using these steps I did this one by one until it was all done.

Once I finished up with the UV’s I made sure they all got given a corresponding material with an appropriate name, you don’t want to be in substance painter and get mixed up on the names.
Substance Painter
Substance painter is vital for creating normal maps and all other texture spaces. Diffuse, Normal, Metallic, Roughness, Alpha, Emission being the typical ones that we are using.
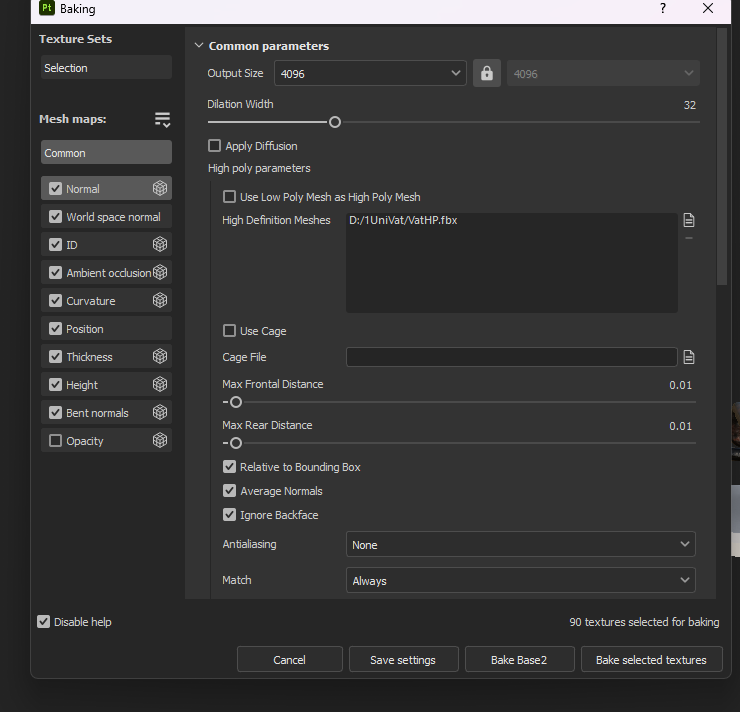
Using FBX types of the HP and LP models I can bake the normal maps generated from the HP and place them onto the LP model. I then make sure I load up the LP model into substance using 4k texture resolution and making sure the texture set is also set to 4k resolution for high resolution normal maps and also curvature maps. Curvature maps are important for the application to know where an edge is for the smart materials.
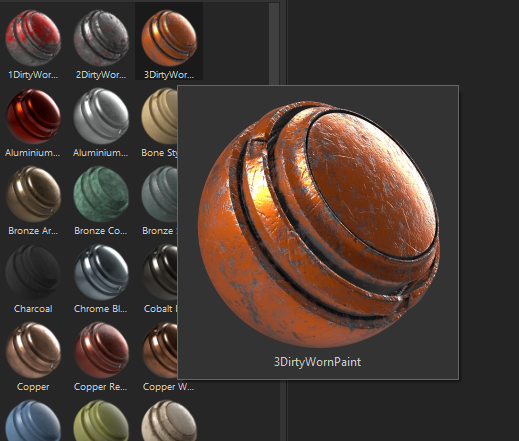
I then created a few smart materials to apply to my model using smart masks and other materials until I made the perfect metal material that I can apply and use on the model, these make sure to use the normal maps and also they use the correct values on every material every time, and if it needs manual tweaking for dust and dirt I can use regular materials.
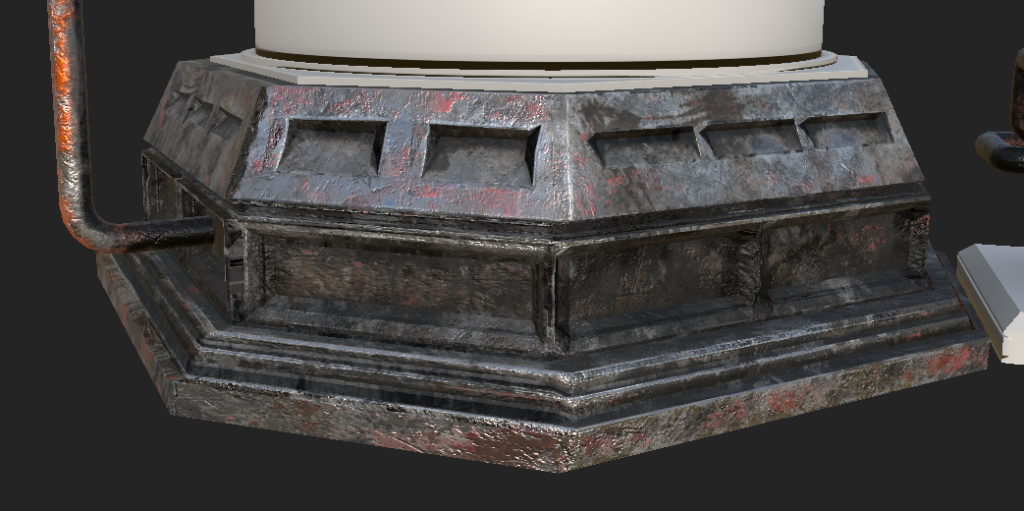
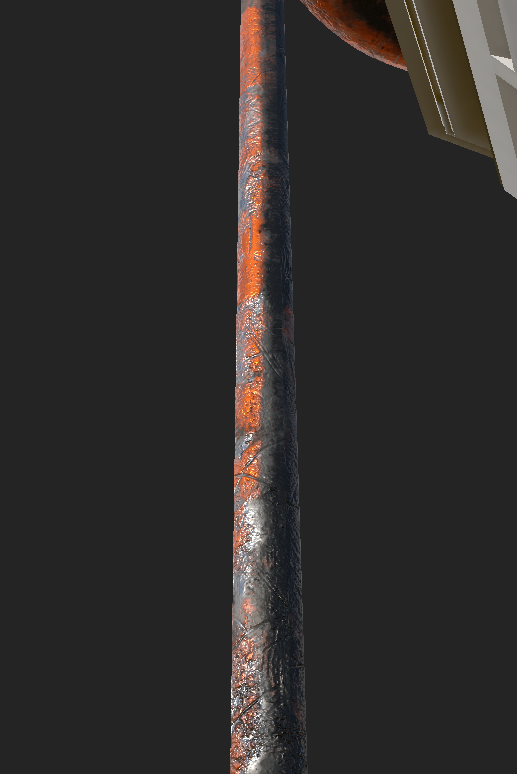
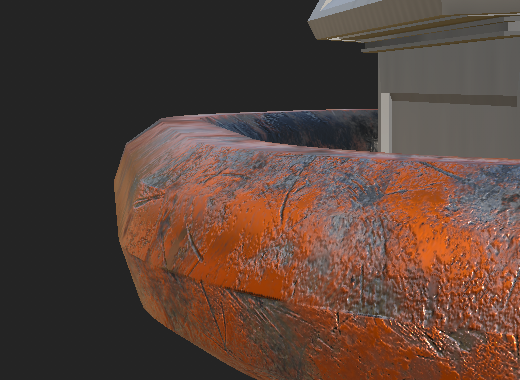
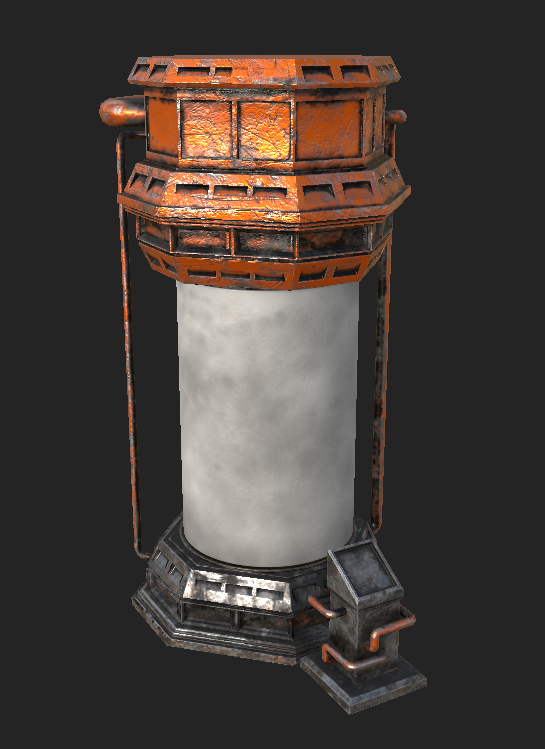
The glass is a place holder as the glass material is being built in blender using procedural materials. I did this because I am not familiar with the opacity tool as of yet in substance painter. I wouldn’t be able to create the desired effect that I would want by only using one program for the texturing.
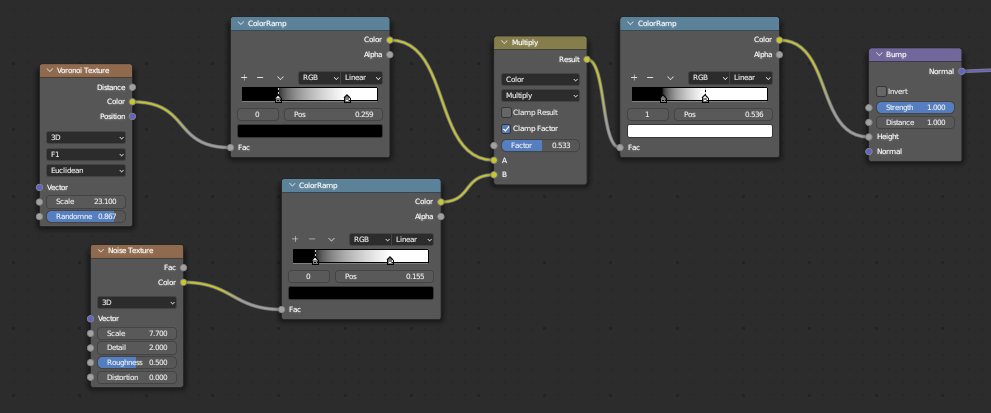
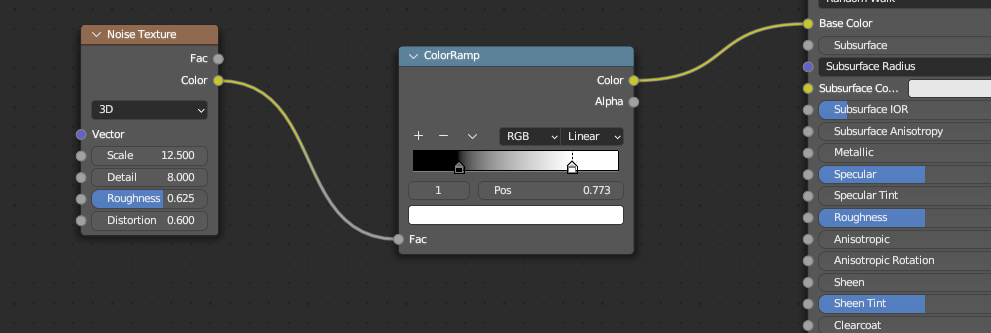
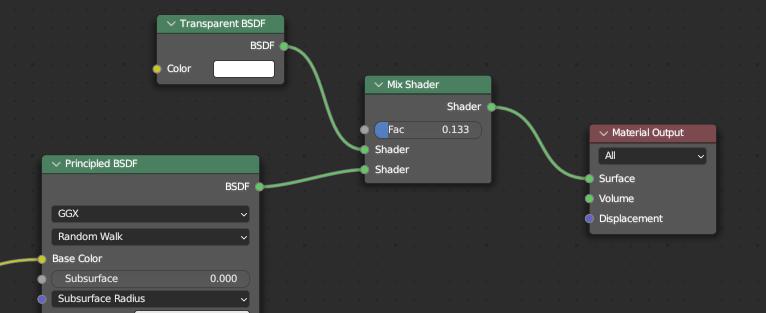
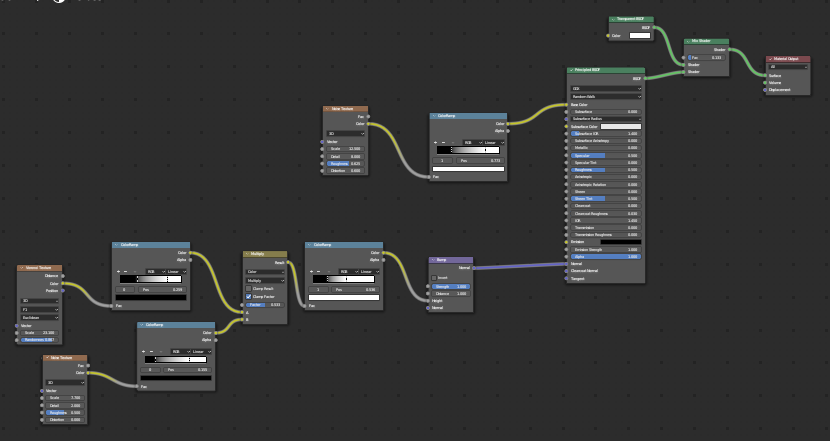
Using blenders built in material editor node I can create a realistic glass look to make sure you can see through it and have correct normal maps applied as well. This was good as I wasn’t able to create the glass texture that I wanted using substance painter.
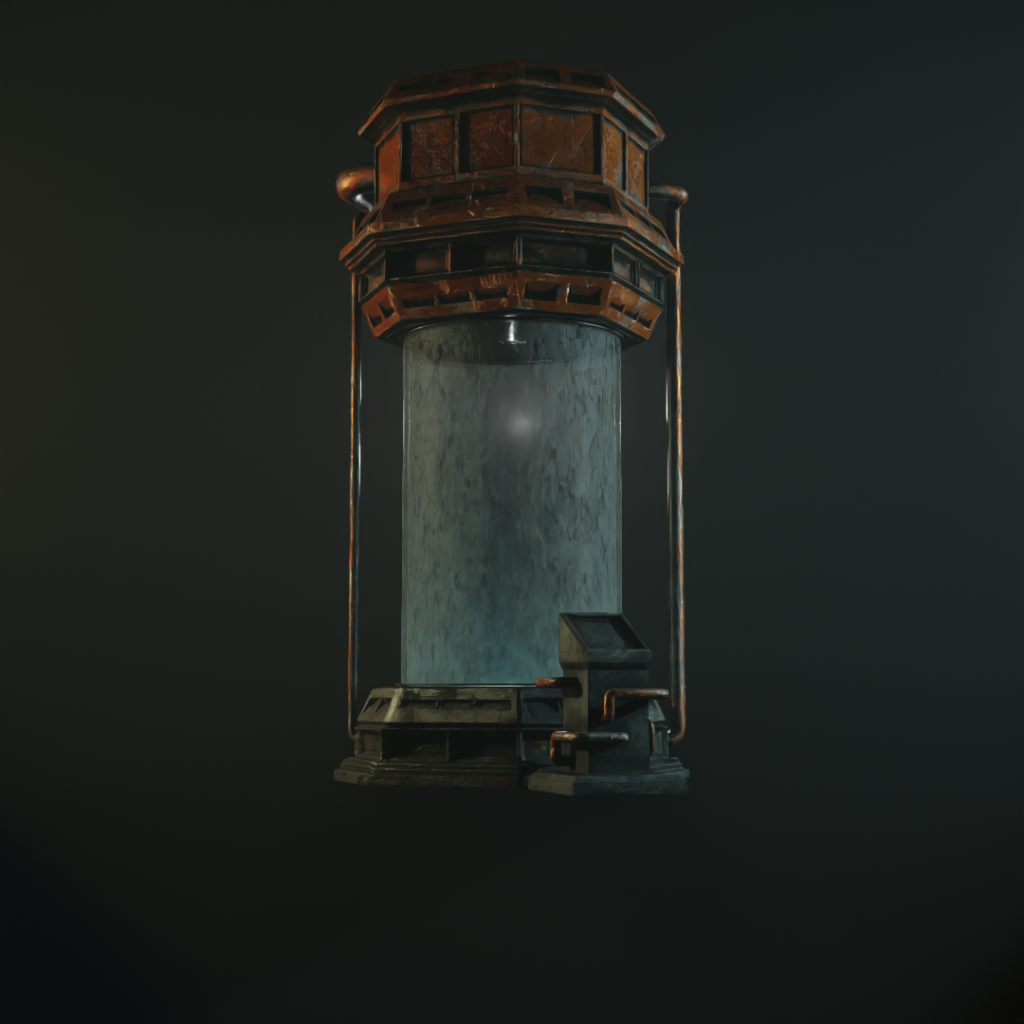
This is the finished result of all the materials working together with a slight fog to make it seem a bit more realistic. it is fully lit with different light sources, 3 light sources with the built in lights. every part of the design had been specifically built to make sure the substance painter process was as simple as can be.
Finalized 3D Asset
Using appropriate lighting arrangements and having a decent time with animation and editing with the camera rig I was able to put together a decent little video to the desired aspects. This was done without help of a render farm. it was all done with my PC at home with a 3070ti and 5800x AMD processor with 64GB 3200hz memory.
I have had almost no incidents when making the model and the video. I have used my knowledge of the software to good use to fix any mistakes I may have made almost immediately.
Video is 20.2 seconds long, 1080px x 1080px with 4k textures.
Video made better with feedback.
All missing pieces are done on purpose as the environment design are using some pieces, such as the alien hologram and the hologram screen on the front.
Render Stills
All renders here are done at 2160px by 2160px. These were also rendered with full 4k textures and 10% compression for a PNG with RGBA (red, green, blue, alpha channels.)
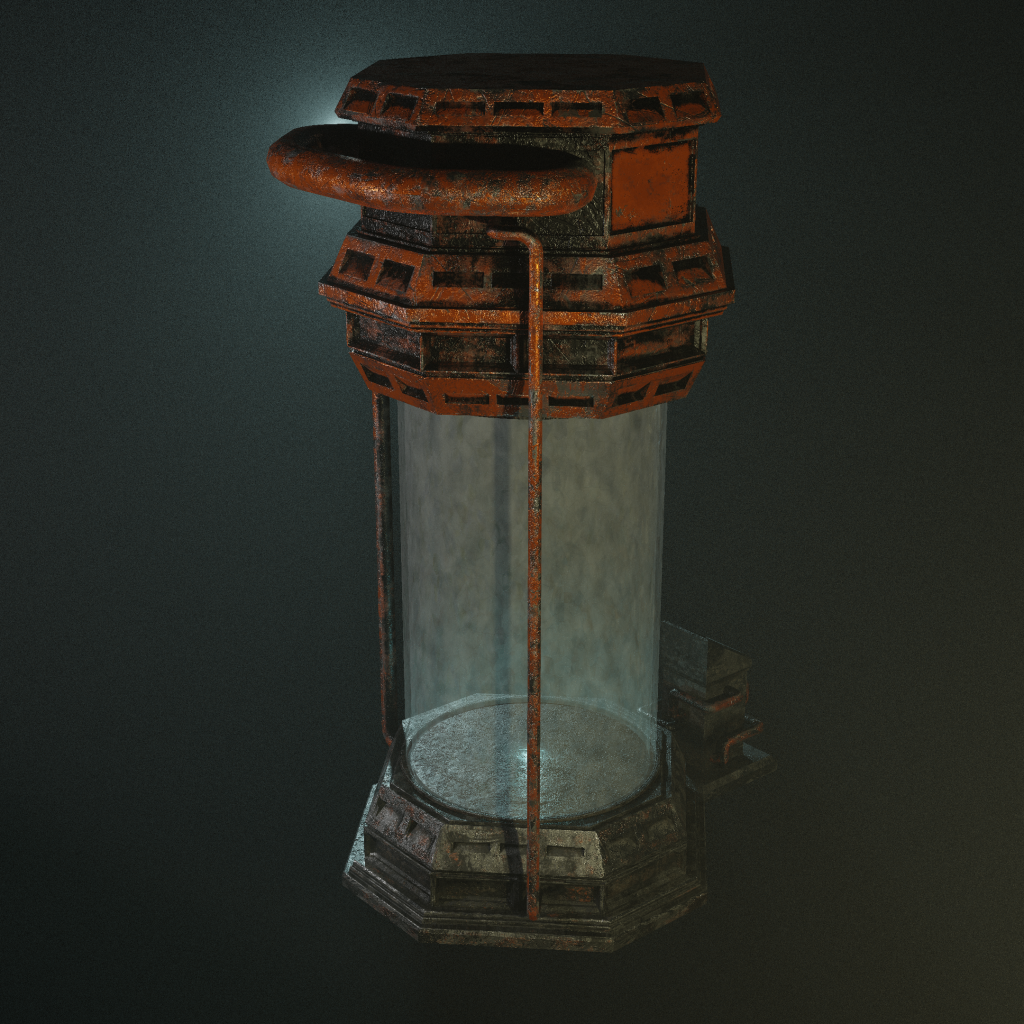
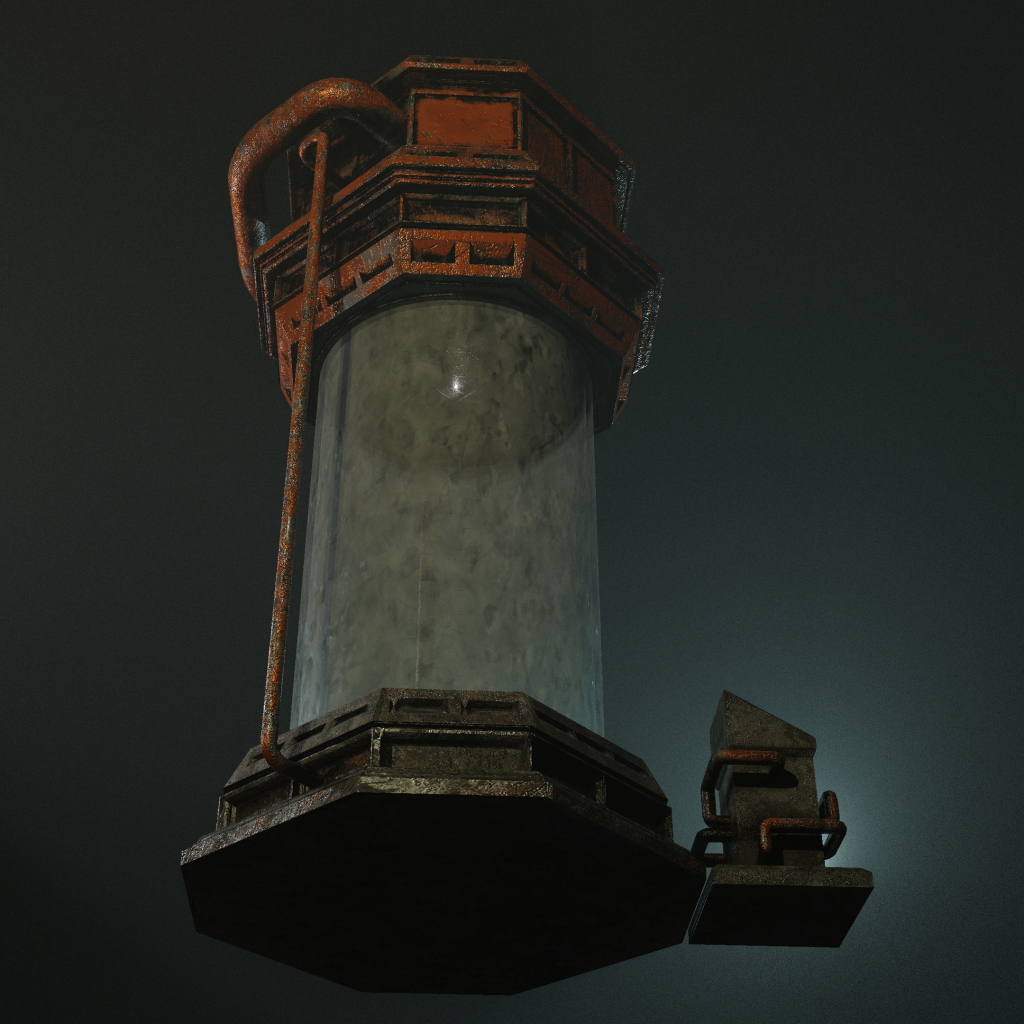
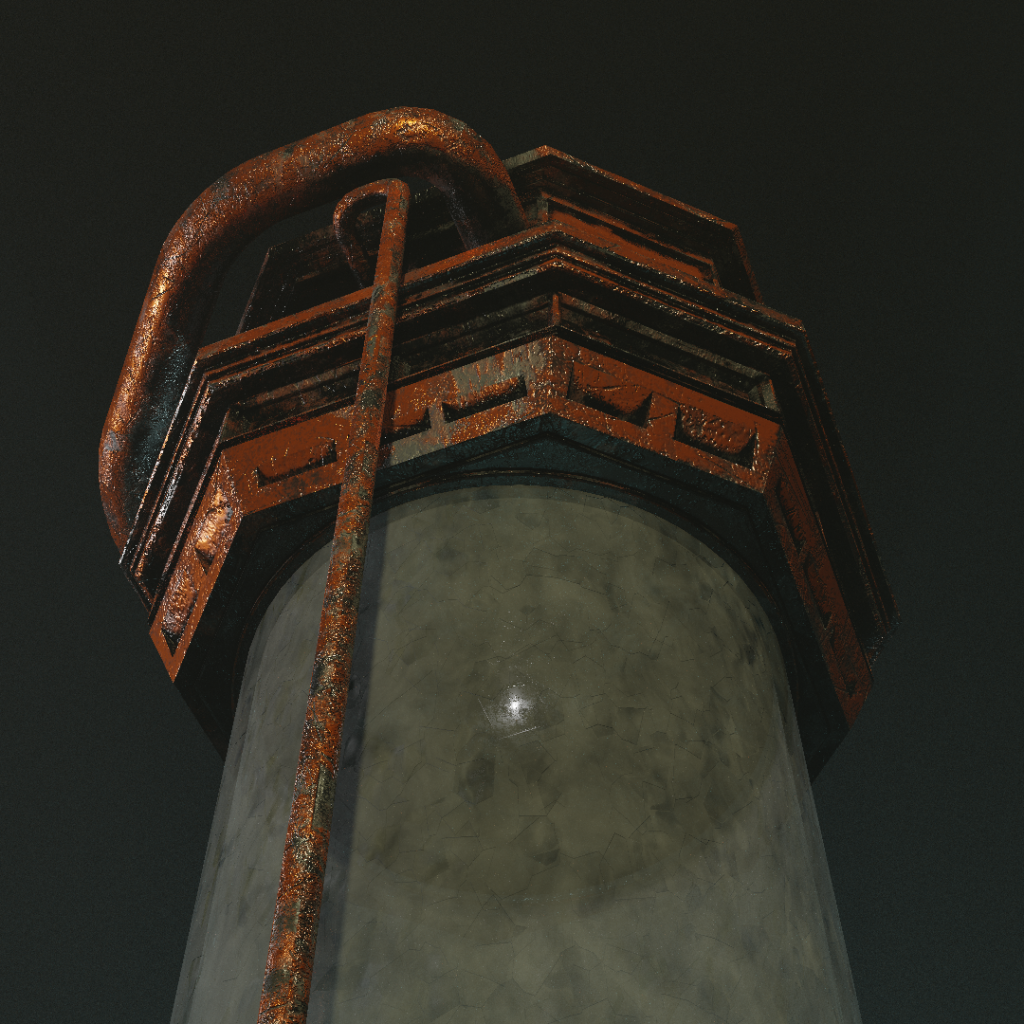
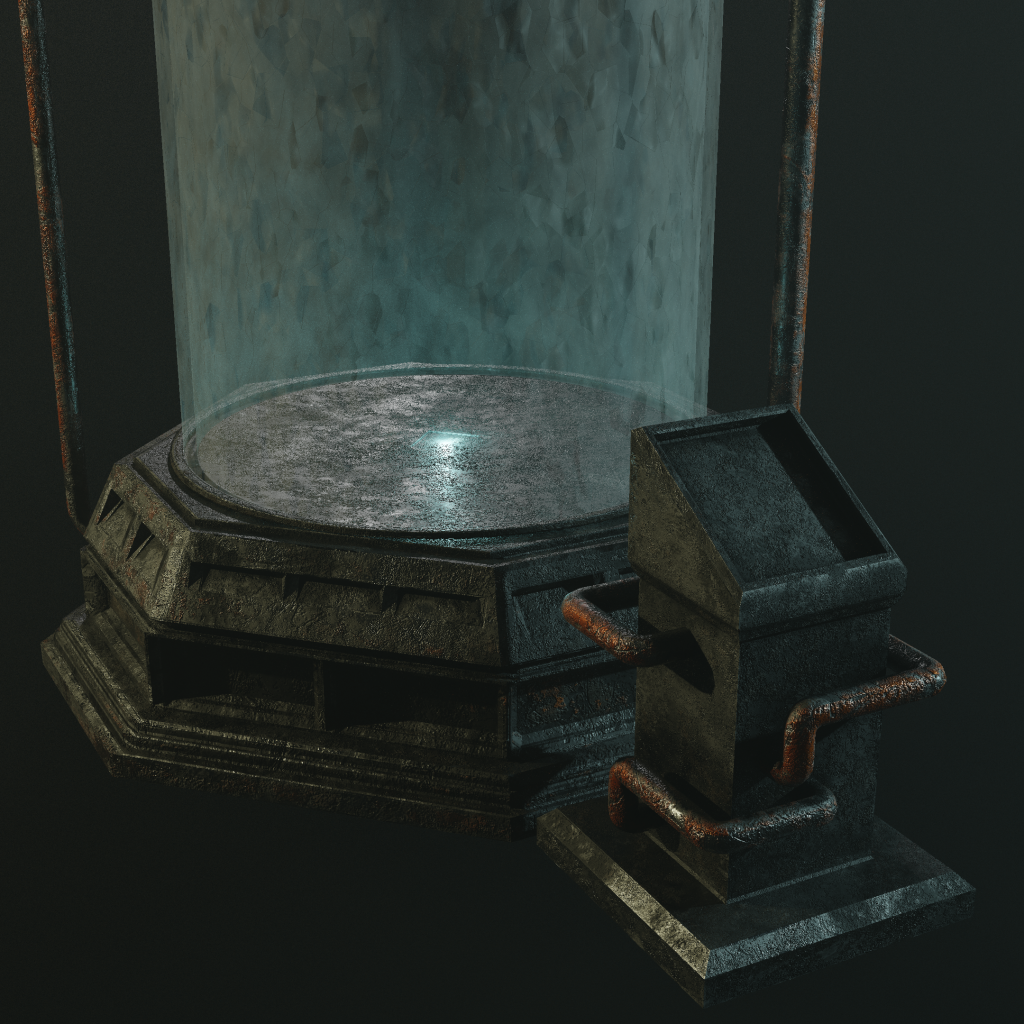
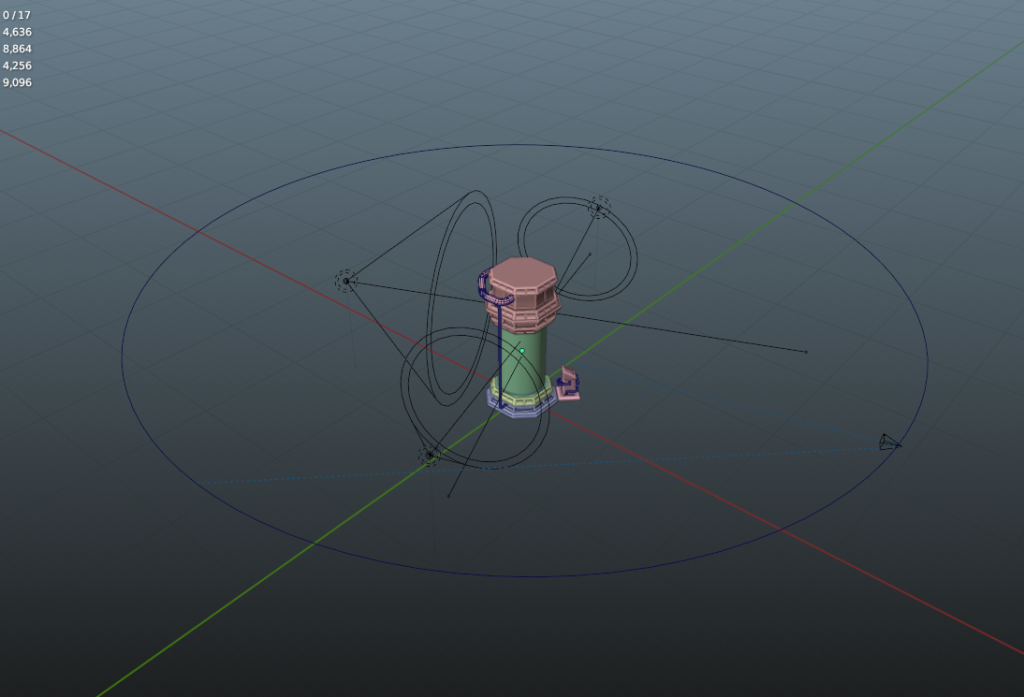
Camera rig with studio lighting set up. I was unable to create a background that is useable due to the fog I put in the scene to make it look more dynamic. The fog covered up most of the background and the times I did include it didn’t look the nicest that it could be.
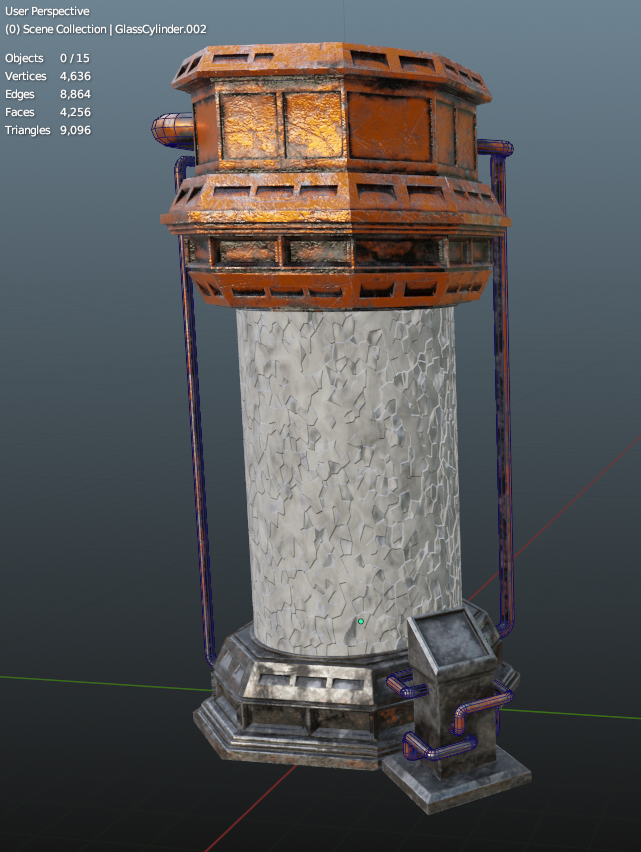
Unlit view of the LP model with all textures applied. Glass is not transparent due to rendering engine not being able to process the transparency without it being in the cycles rendering mode.
Feedback
Video is 20.2 seconds long, 1080px x 1080px with 4k textures.
This video was too flackery with the lighting also you could see the lights from behind. It was also said that the scene was too dark therefore in the final video.
I increased sample size from 128 to 256 with a tiling of 128. therefore most issues were sorted. To fix the darkness I increased each bulb by 2.65x intensity and I moved them away from the model to behind the camera rig.
Download
https://drive.google.com/file/d/12qZFymXG9WPzrP9D5TrpUHx3sO9bK4XF/view?usp=share_link
This the the blender file, everything should be automatically packed with the blender file so you can check it out with full detail!
References
N/a (N/a) Face Hugger [Photograph]. Available online: https://avp.fandom.com/wiki/Facehugger [Accessed date 25/04/2023]. (person who uploaded the image did not give name or year)
Josh Weiss (2022) The Thing on set [Photograph]. Available online: https://www.syfy.com/syfy-wire/john-carpenter-the-thing-40th-anniversary-retrospective [Accessed date 26/04/2023].
William Broad (2019) The Creepy Anglerfish Comes to Light. (Just Don’t Get Too Close.)[Photograph]. Available online: https://www.nytimes.com/2019/07/29/science/anglerfish-bioluminescence-deep-sea.html [Accessed date 26/04/2023].
Joel Sartore (N/a) A red bark scorpion (Babycurus jacksoni) photographed at Omaha’s Henry Doorly Zoo and Aquarium in Nebraska [Photograph]. Available online: https://www.nationalgeographic.com/animals/invertebrates/facts/scorpions [Accessed date 26/04/2023]. (does not say the year it was photographed)
(EagleEyePrints) (2018) Vault 111 Cryo Pods – Fallout 4 [Image]. Available online: https://twitter.com/EagleEyePrints/status/965689947641516032 [Accessed date 24/04/2023].
Jordan Pate (2016) Luke in bacta tank [Photograph]. Available online: https://www.starwarsnewsnet.com/2016/12/speculation-has-a-massive-spoiler-concerning-the-mysterious-bacta-tank-scene-in-rogue-one-been-revealed.html [Accessed date 24/04/2023].
Nicholas Hodgson (2016) SciFi Cryogenic Pod [Image]. Available online: https://www.artstation.com/artwork/AnGao [Accessed date 28/04/2023].