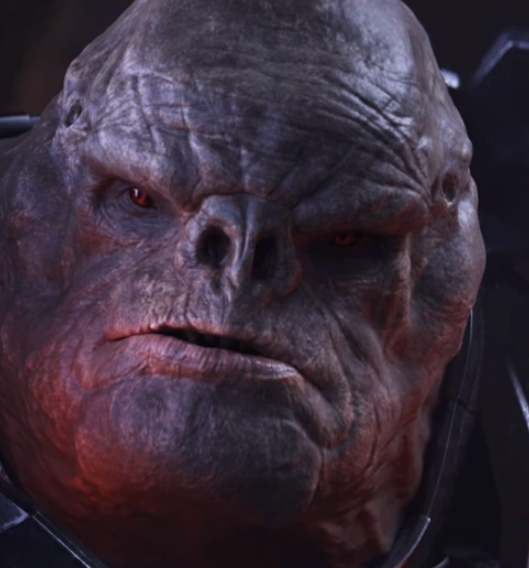
I started of by modelling the head based off a few reference photos, with these i created a base head model without a torso as i knew from the start that you wouldn’t be able to see any of the body. I knew that the only visible parts of skin would be the head, hands and legs.
Software Used
Z-Brush
I used Z-Brush for all things to do with organic material. This includes the head, arms and legs, this is because they are smooth and need a lot of detail put into them. This allows me to create wrinkles and smooth guided lines to create anything i wanted.
Blender
I used Blender for all my hard surface modelling, UV unwrapping and also to rig and animate the character. I used blender for hard surface modelling due to me having more time spent in blender and it allows me to create my character faster without creating to many polys; meaning that my model is already got good edge loops and topology due to me adjusting each vertex to my desired spot. All together meaning my un wrapping and texturing is easier.
Substance painte
I used substance to paint on my desired textures using a mix of hand painting for things like the face and using my own smart materials for things like the armour plating with an added benefit of hand painting on rust and dirt onto them on top of everything.
Substance is good as it allows me to bake on ambient occlusion and also to bake my high poly face onto my retopology head to create a low poly head i can use for animations.
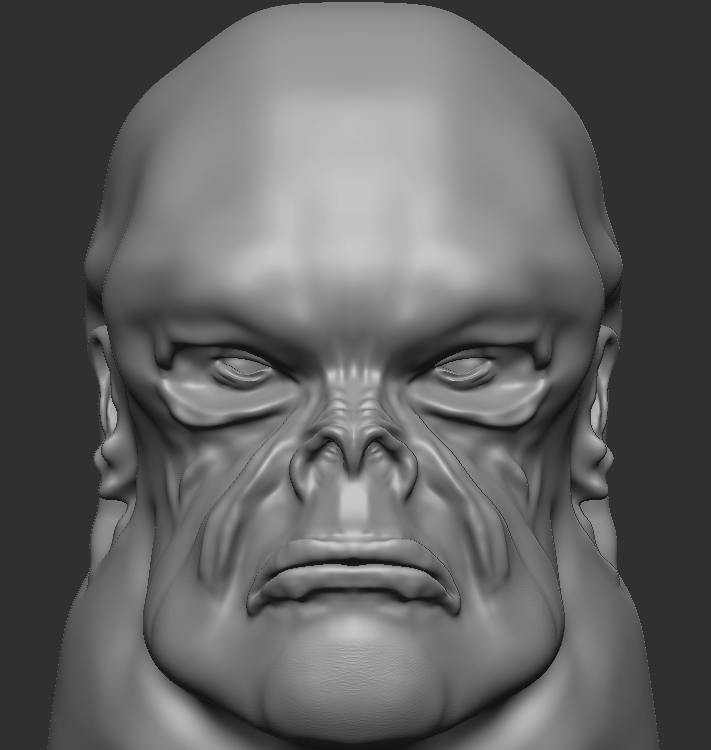 Base head model finished
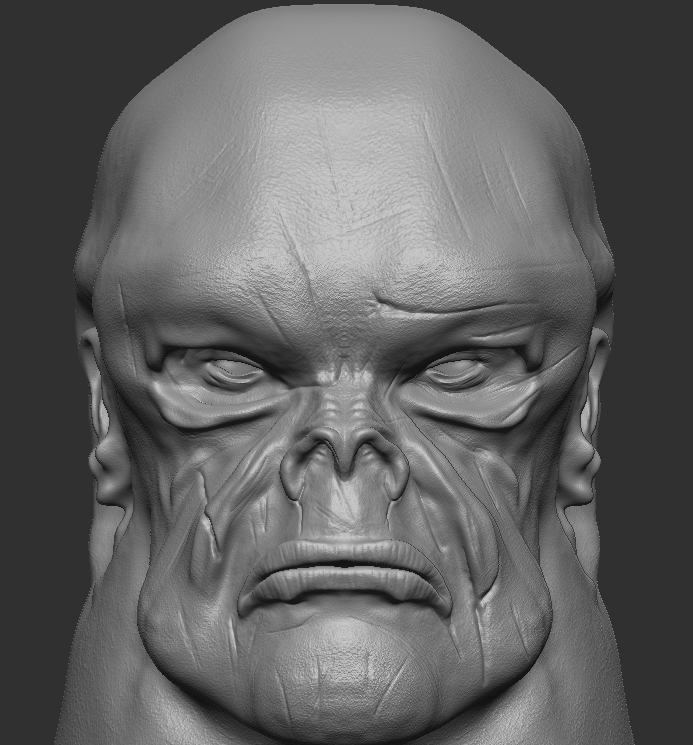 Deep cuts added
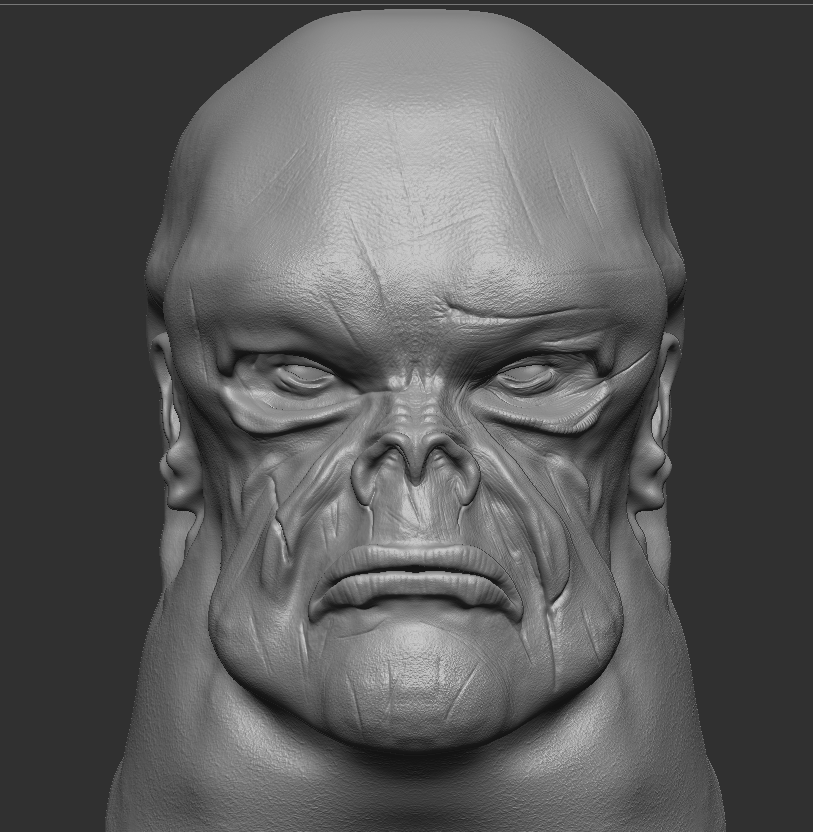 Added Wrinkles to the skin by hand
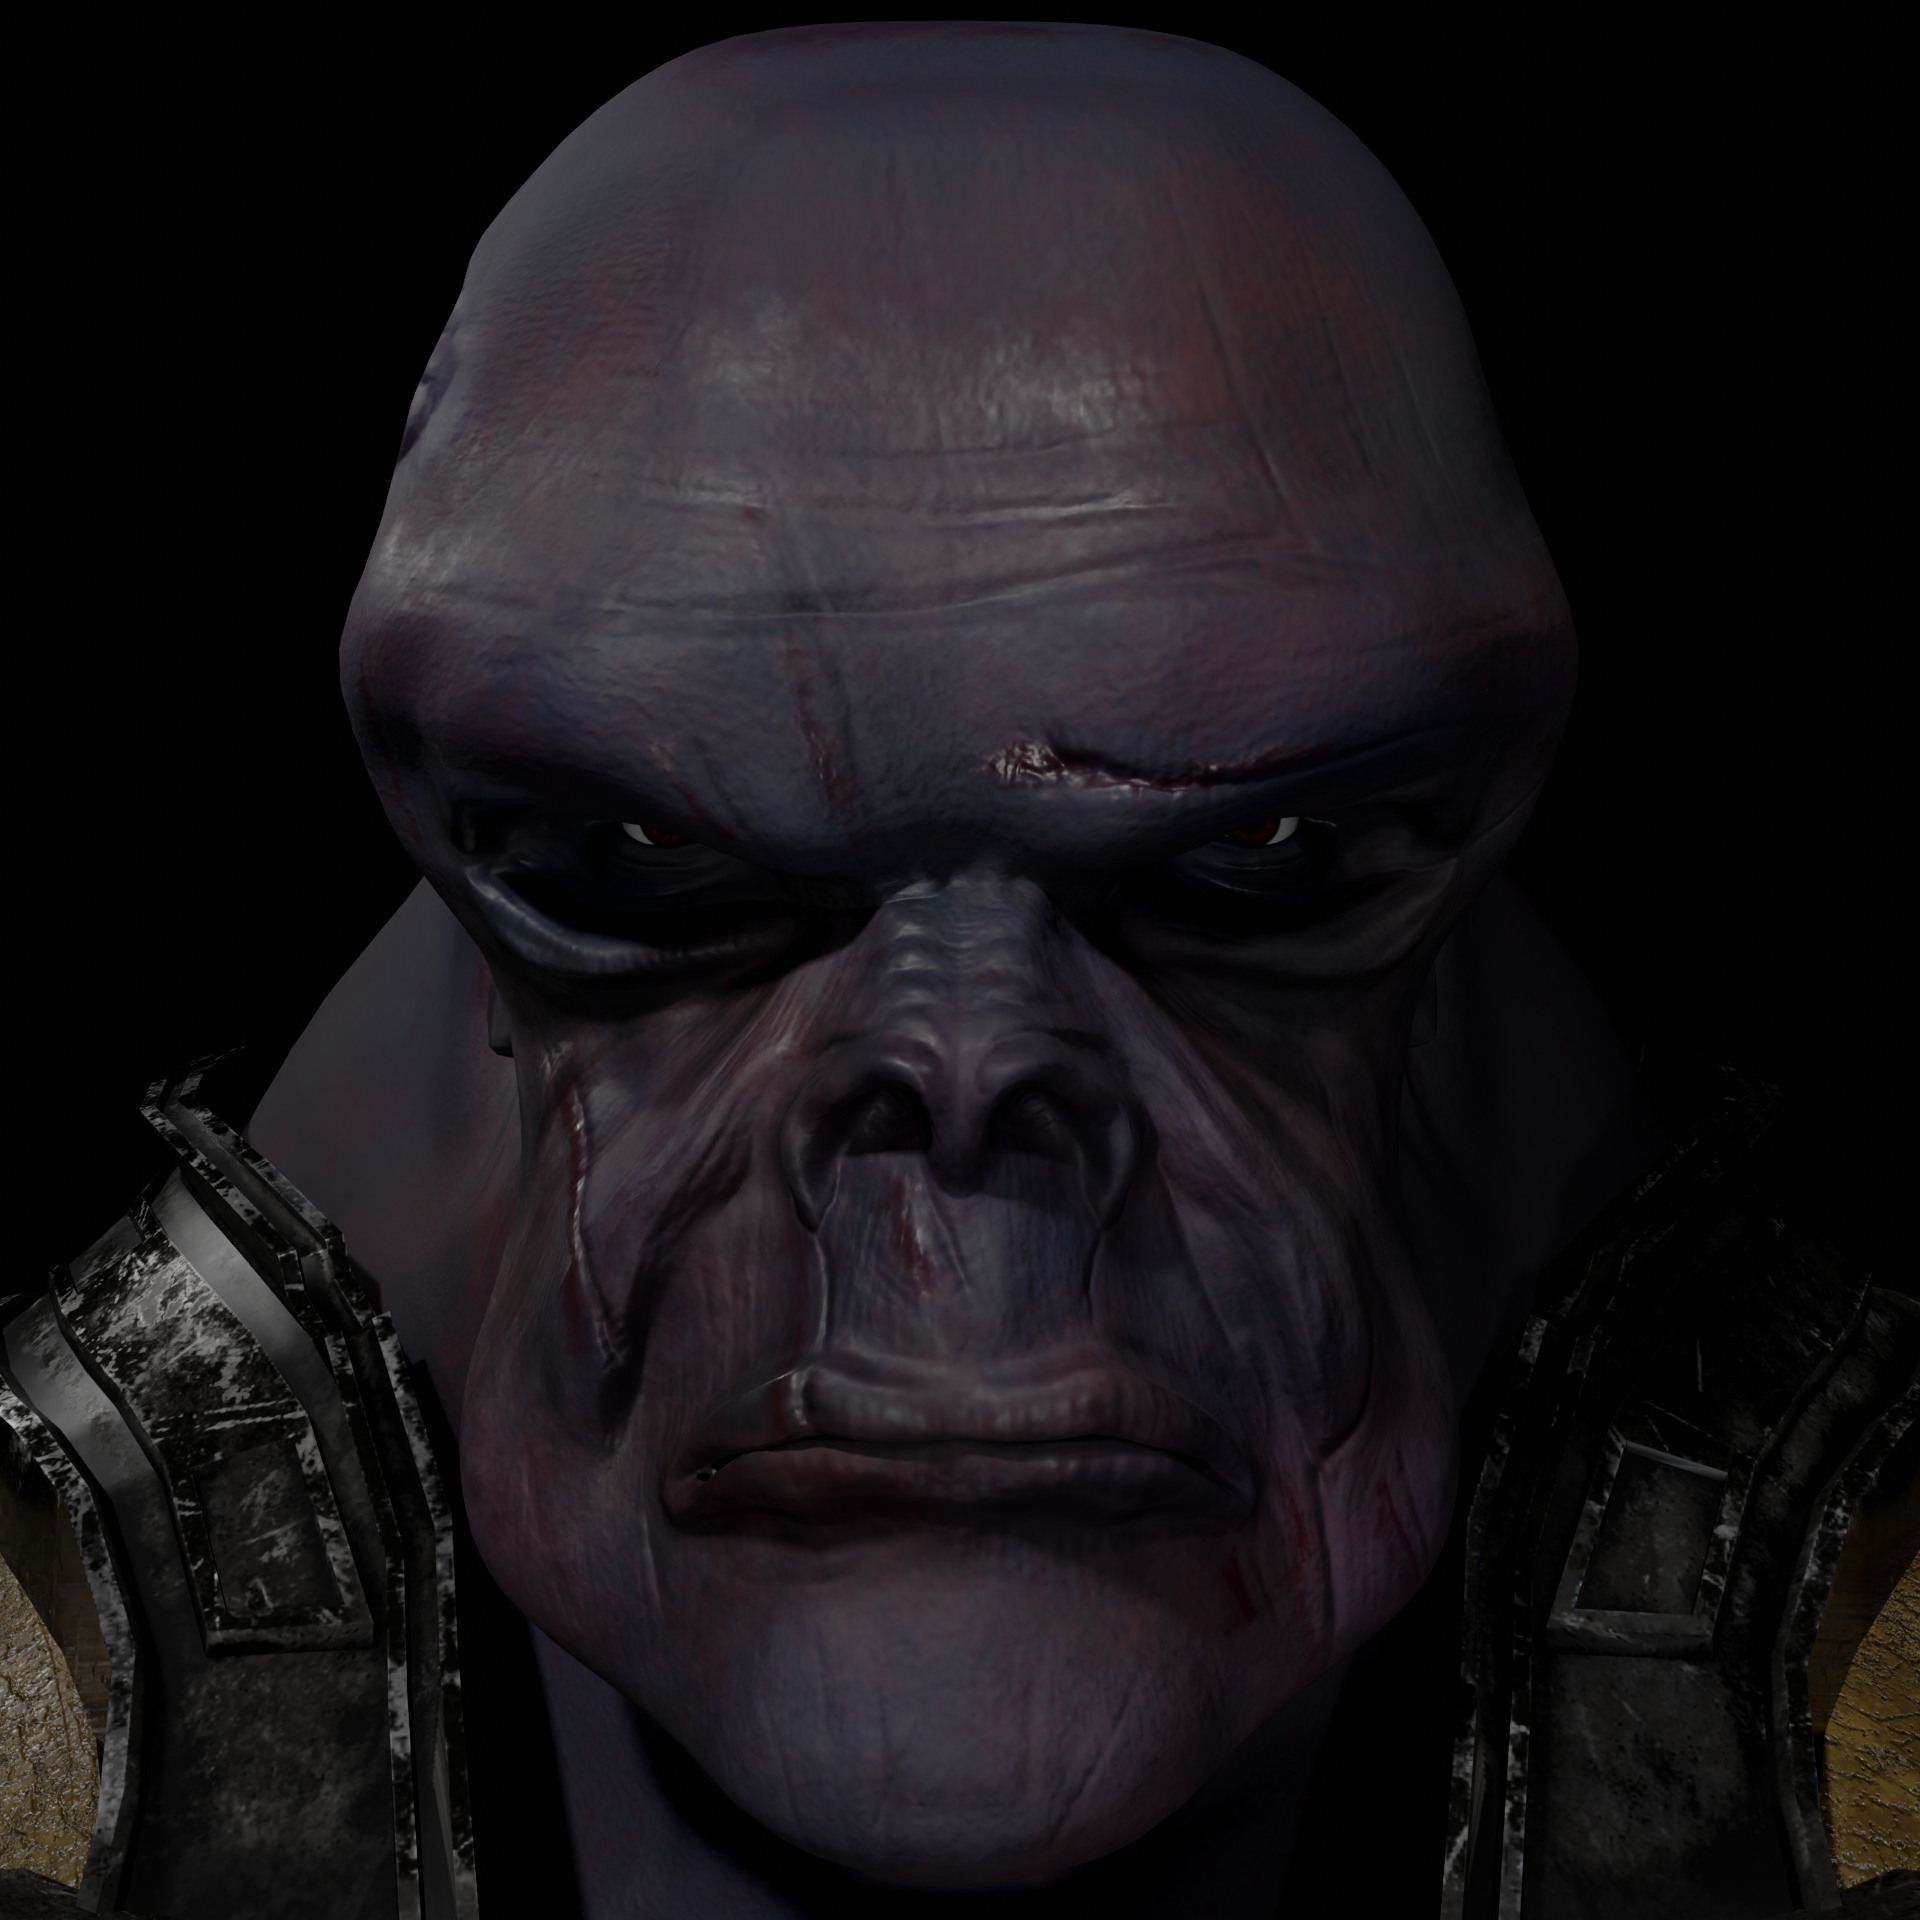
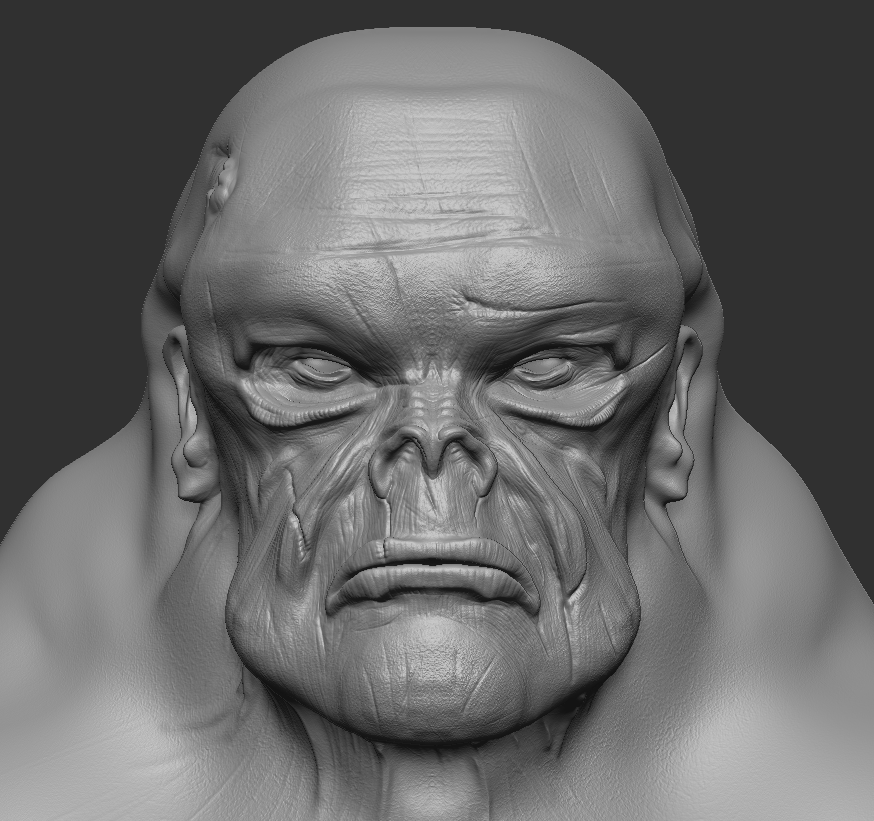 Increased resolution, better wrinkling, more lip detail, fixed neck looking out of place, adjusted face shape
Most of these pictures have a noise modifier on them to simulate pores as you would see on a regular human being. I made sure they weren’t too obvious but if you look closely on the finished result you can still see each one.
Tools Z-Brush
To create most the wrinkles i used the dam standard brush to get deep sharp cuts, and then the rake tool with some changes to the tool like the noise to create small but noticeable wrinkles on the skin. Using tools like the grab tool and t standard brush, i was able to quickly make the head shape and the general shape of the cheeks and mouth. Using things like Dynamesh and Z-remesher allowed me to make a bunch of geometry and refine it to the point i wanted it. Dynamesh allows me to create endless geometry into my mesh in specific parts, and then i get to make it optimised and cleaned up using Z-remesher to remesh the geometry to a good standard.
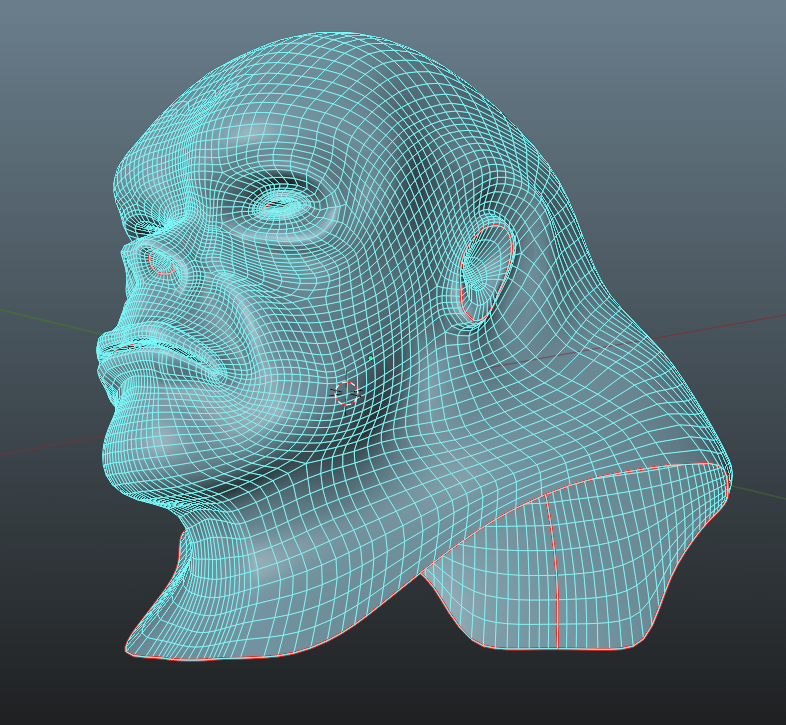
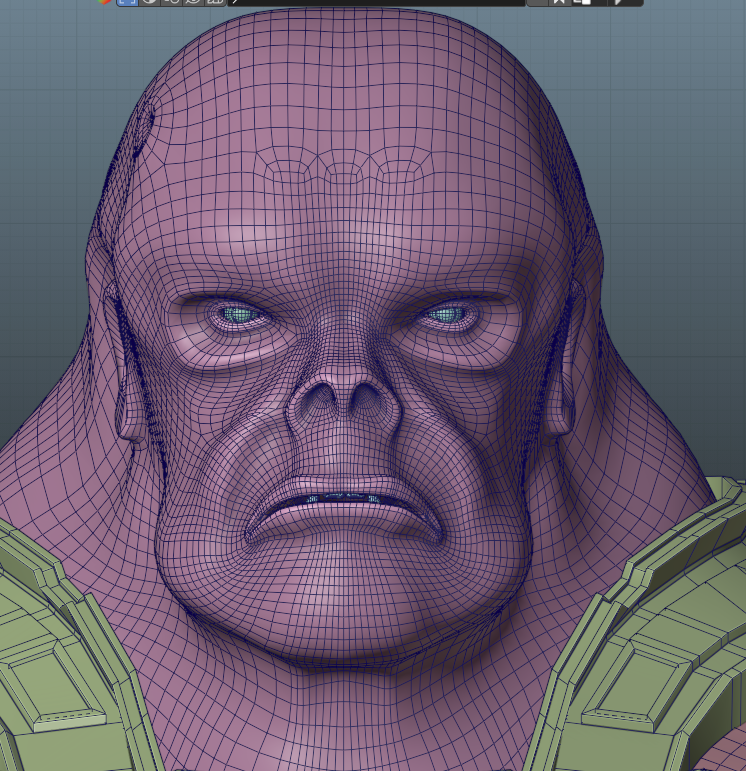
Retopoflow Blender
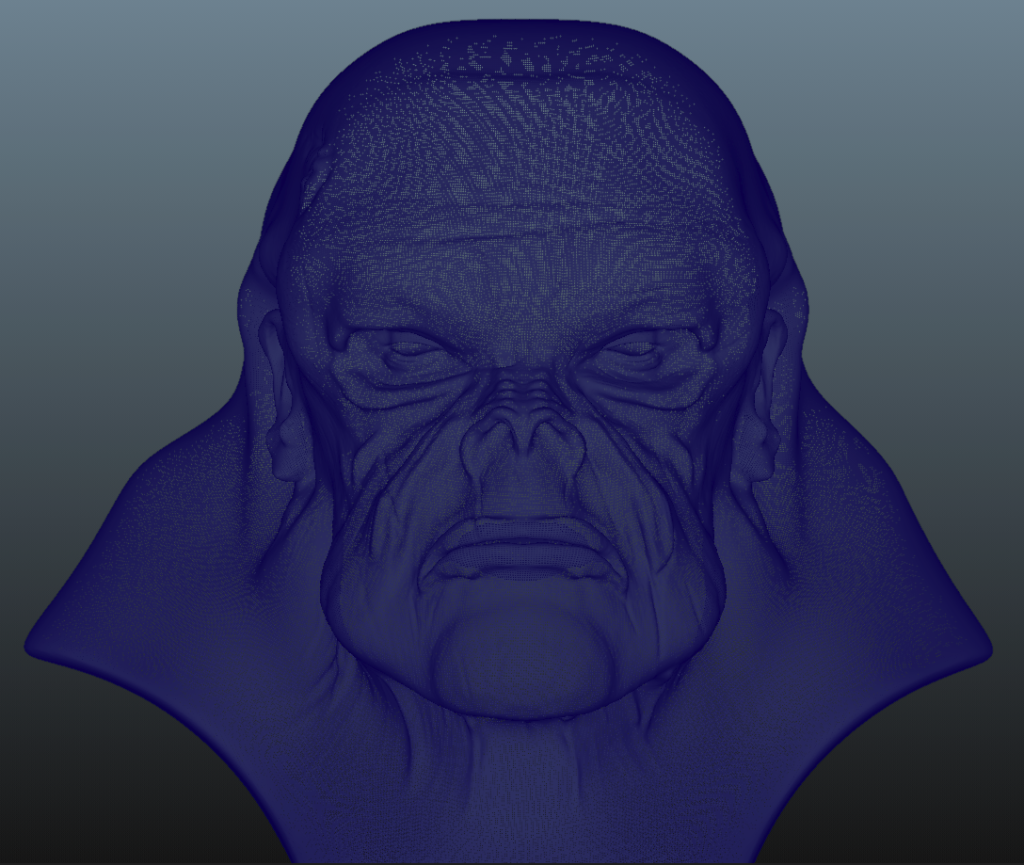
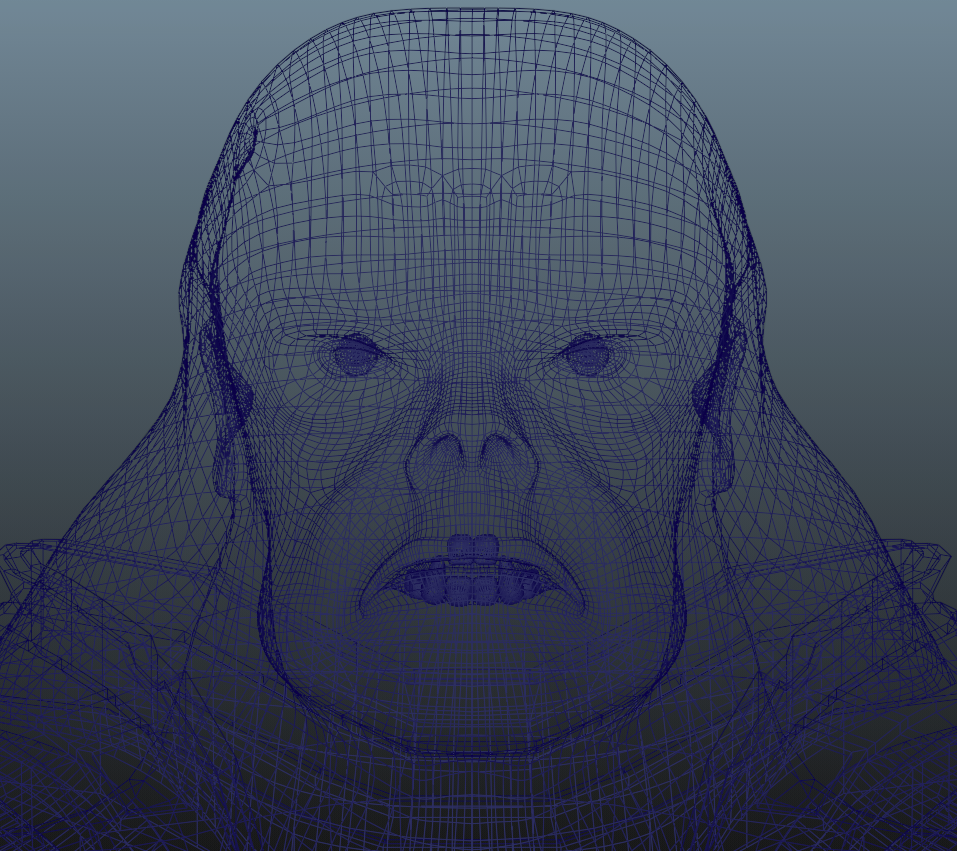
Retopology when compared to the Medium poly model. (unable to see any detail in wireframe on high poly model) The medium poly model is around 1million polys where as the unsubdivided retopology head is around 5k Polys. while being subdivided makes it 19.5k polys while keeping most of the detail.
making sure to not have to many loop cuts in one area is a good practice, being able to also make my many loop cuts to just a few is also good as seen at the top of the retopology head.
Retopoflow makes making retopology easy and cleaner than having to do it all by hand. This is because it has plenty of useful tools to help me create smooth vertices and smooth edges with good edge loops for the face. Some areas could be smoother in my model.
UV-Unwrapping
Uv-unwrapping is an important part of the texturing process. It allows me to apply my 2d textures onto a 3d model. Having good topology is an important piece to making a good texture as other wise you would not be able to get good even lines to get good unwraps with causing issues with seams later on. Seams aren’t terrible if you know how to hide them and that’s what marking seams does.
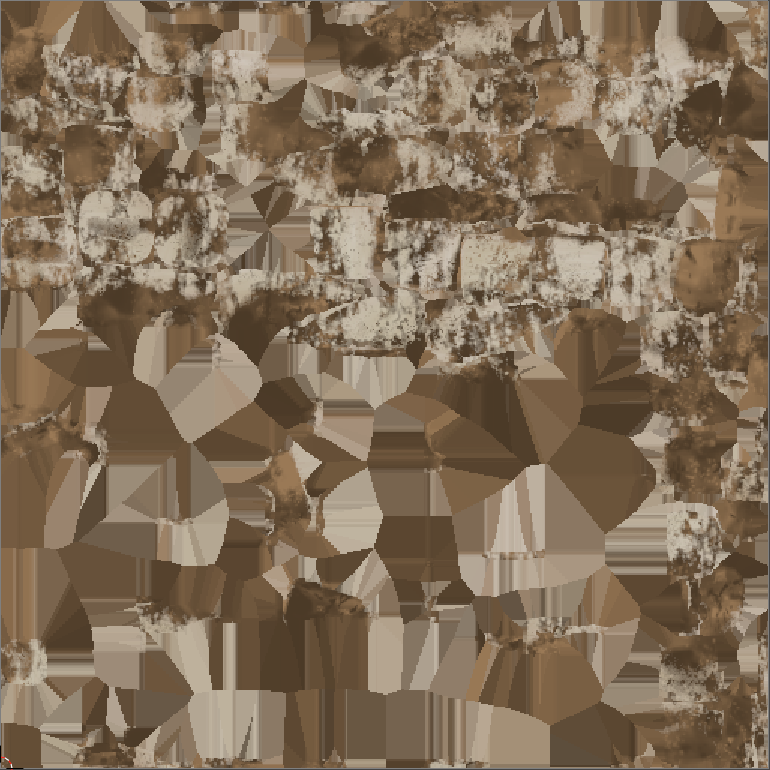
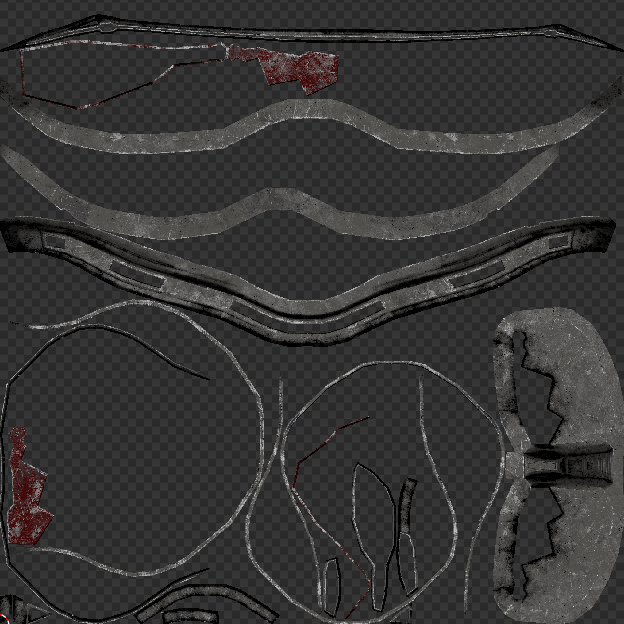
Each red line shows where i have marked a seam. I typically do this on a hard edge, or somewhere where the viewer wont typically see.
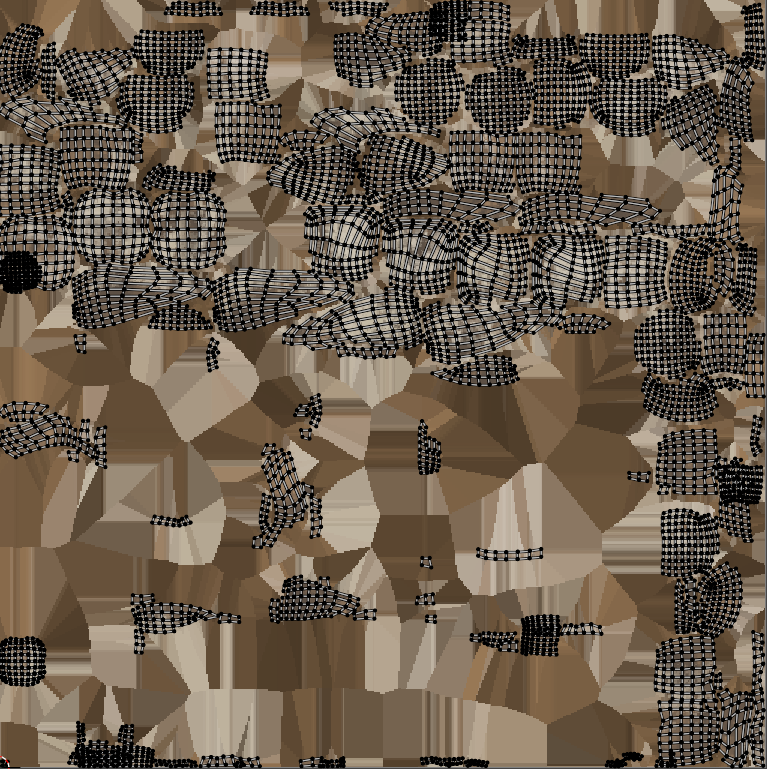
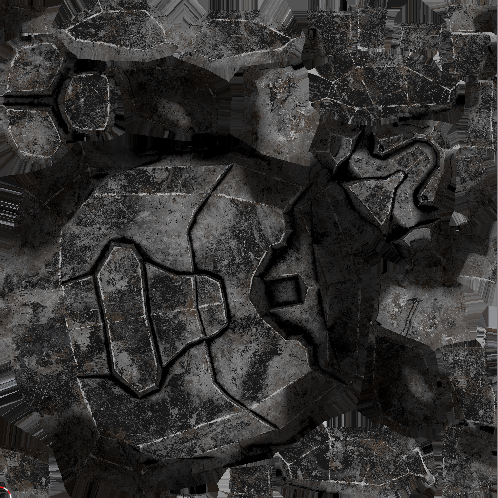
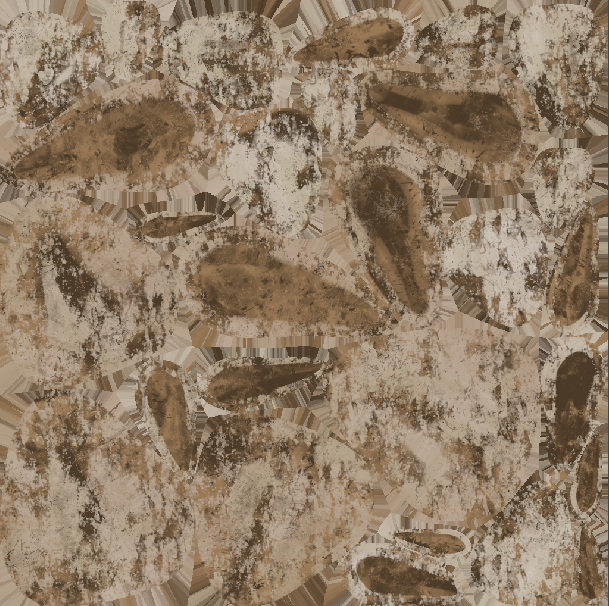
These pieces are the textures and the UV unwrap i have done on each of my materials. Most of these were completed using normal unwrapping methods, however since the teeth are barely shown i didnt make an amazing effort to keep the UV clean.
 4096×4096
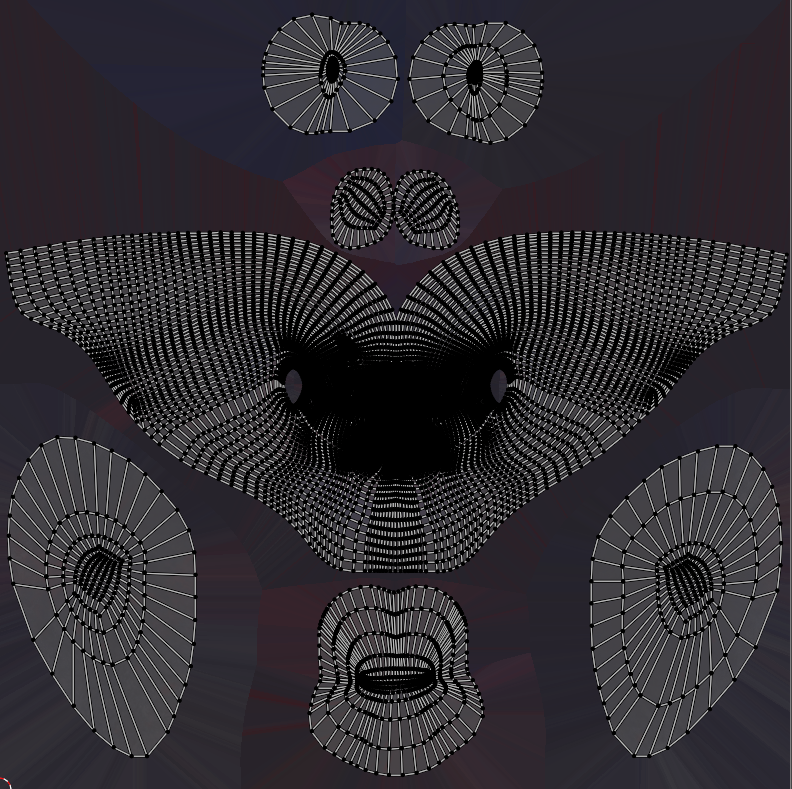
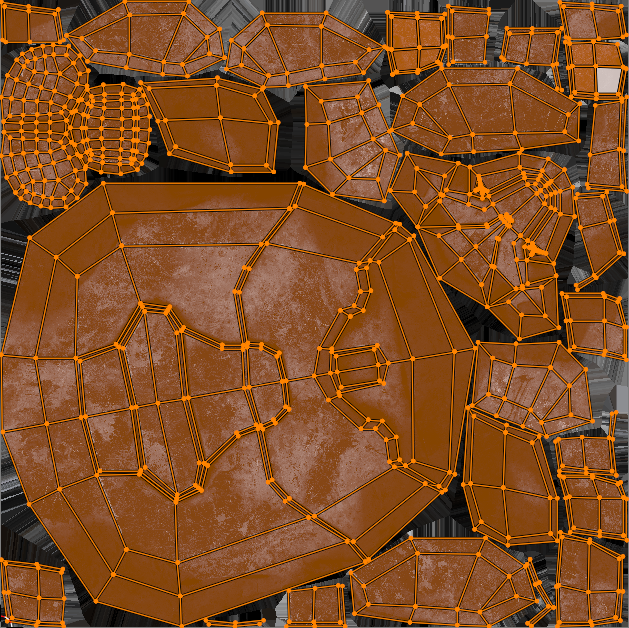
The UV’s above is the head of my character, i decided to make the UV clean and readable. Making sure it is readable to look at means i can see what each UV is just from a glance, using the placement and size.
 512×512
 4096×4096
 2048×2048
 4096×4096
 2048×2048
 4096×4096
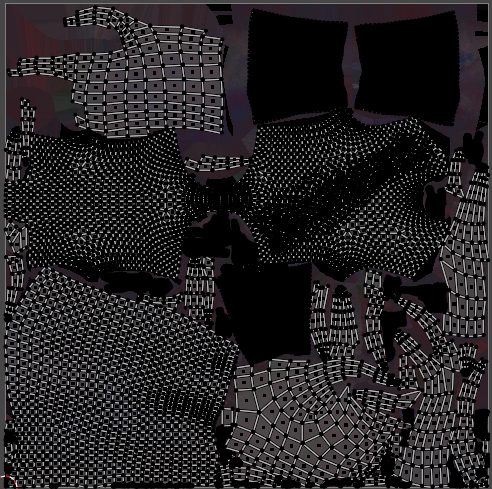 Overlapping geometry to save space
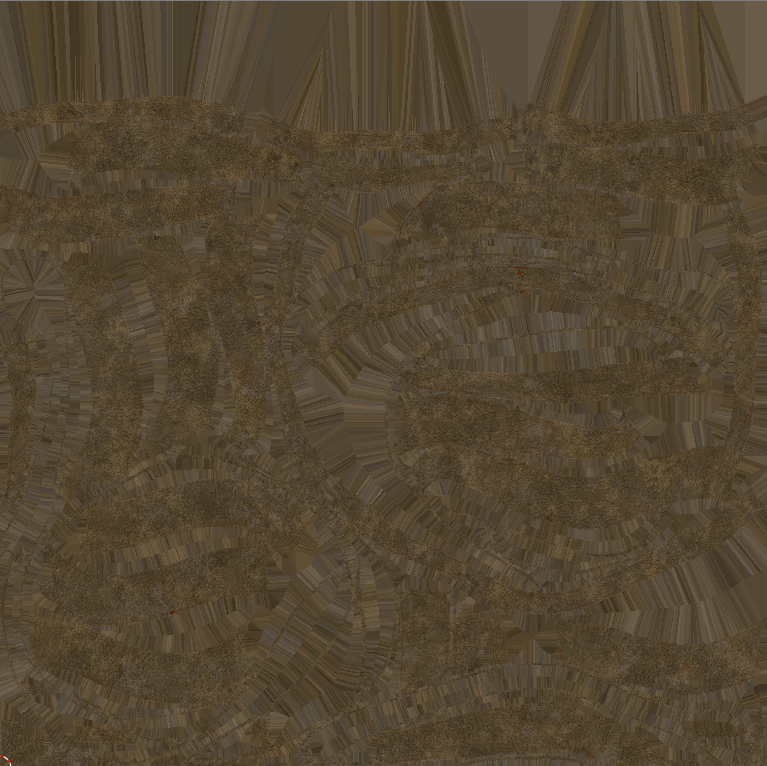
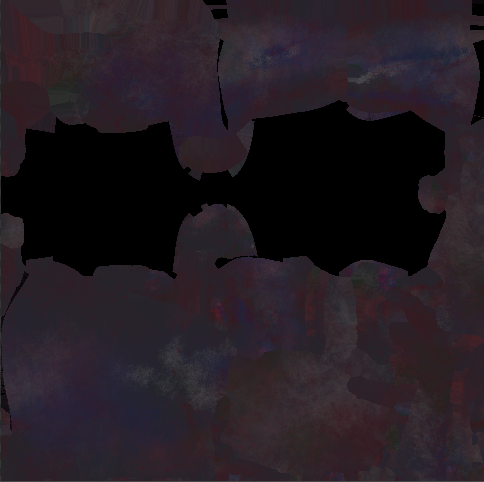
The black area is mostly used for a fill colour with a normal map actually changing look of the texture.
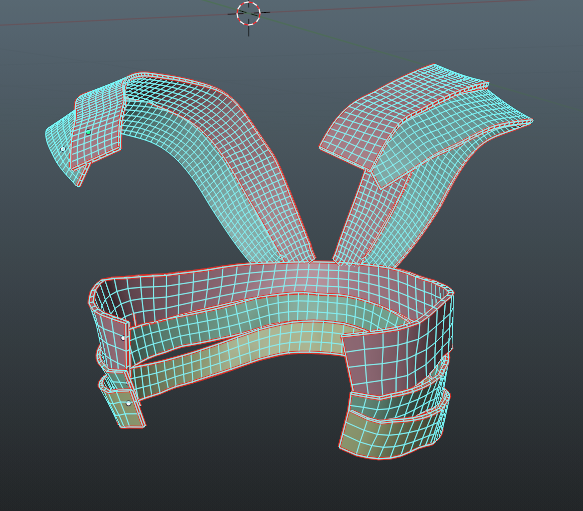
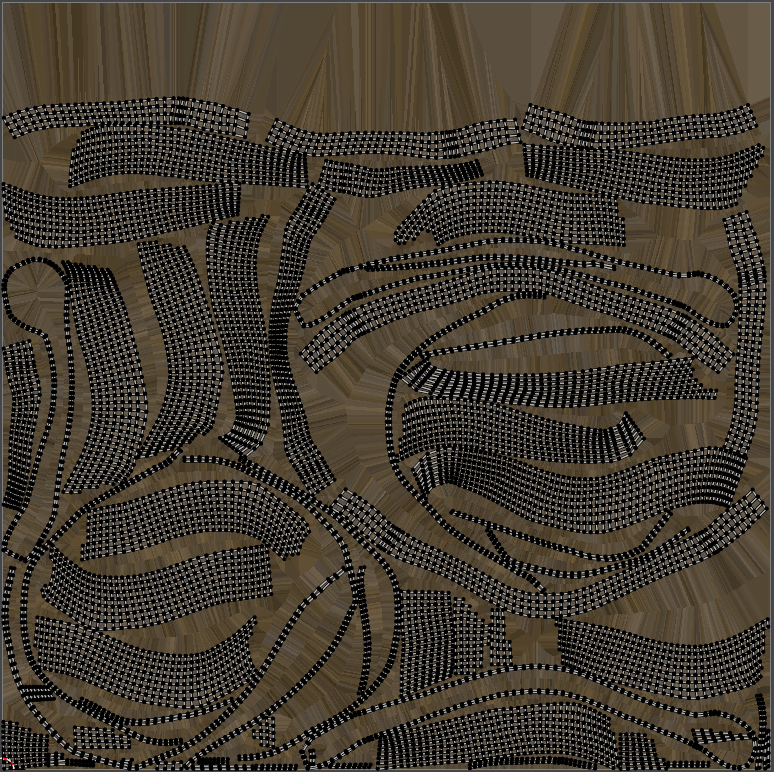
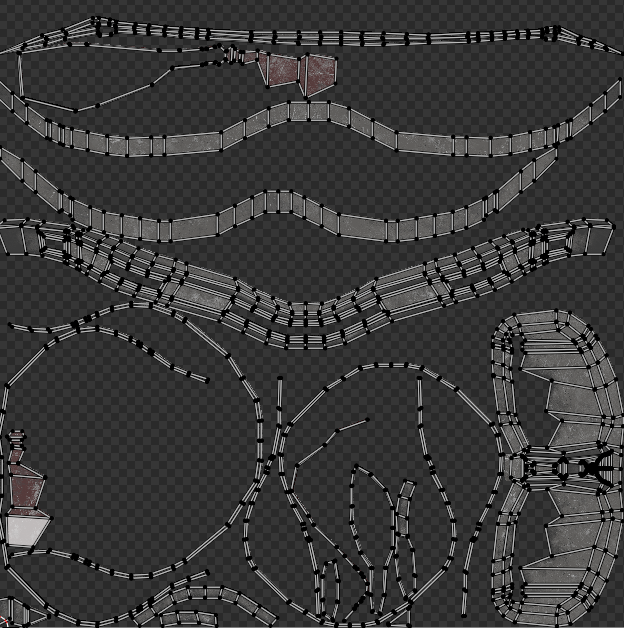
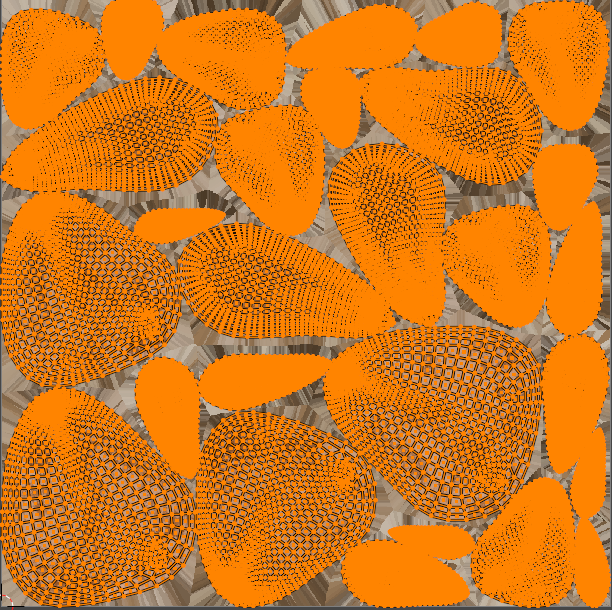
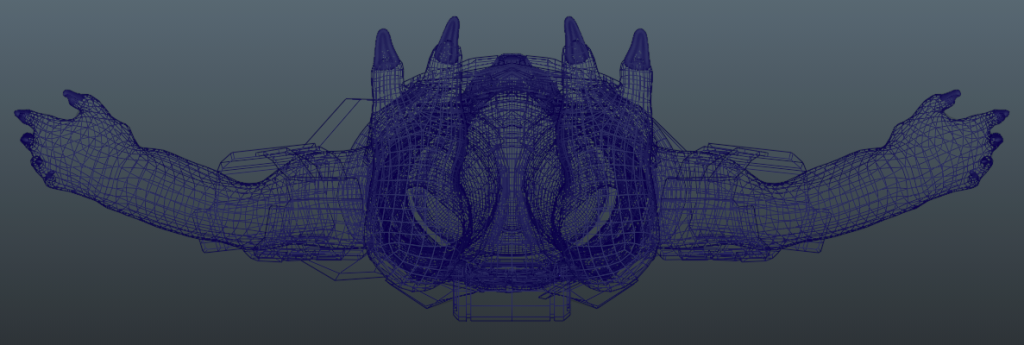
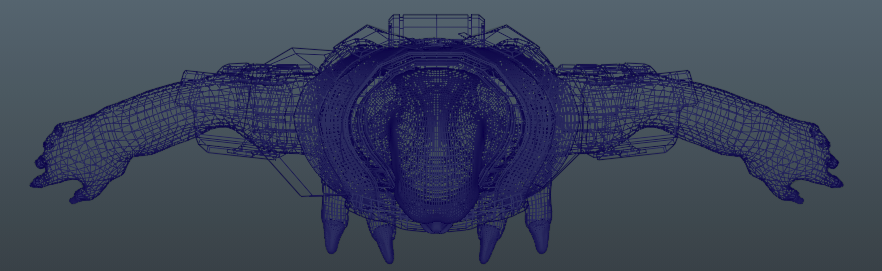
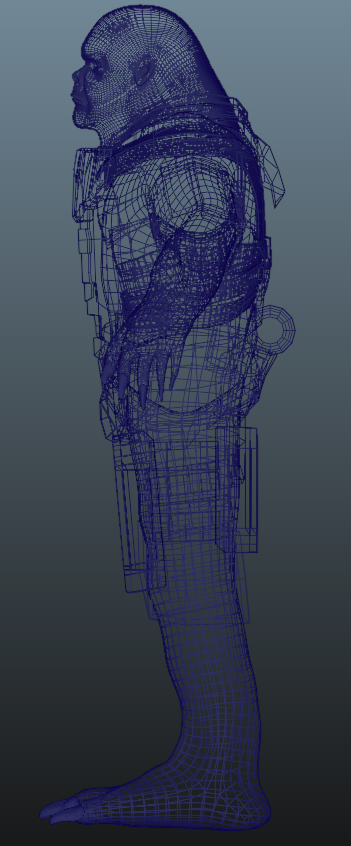
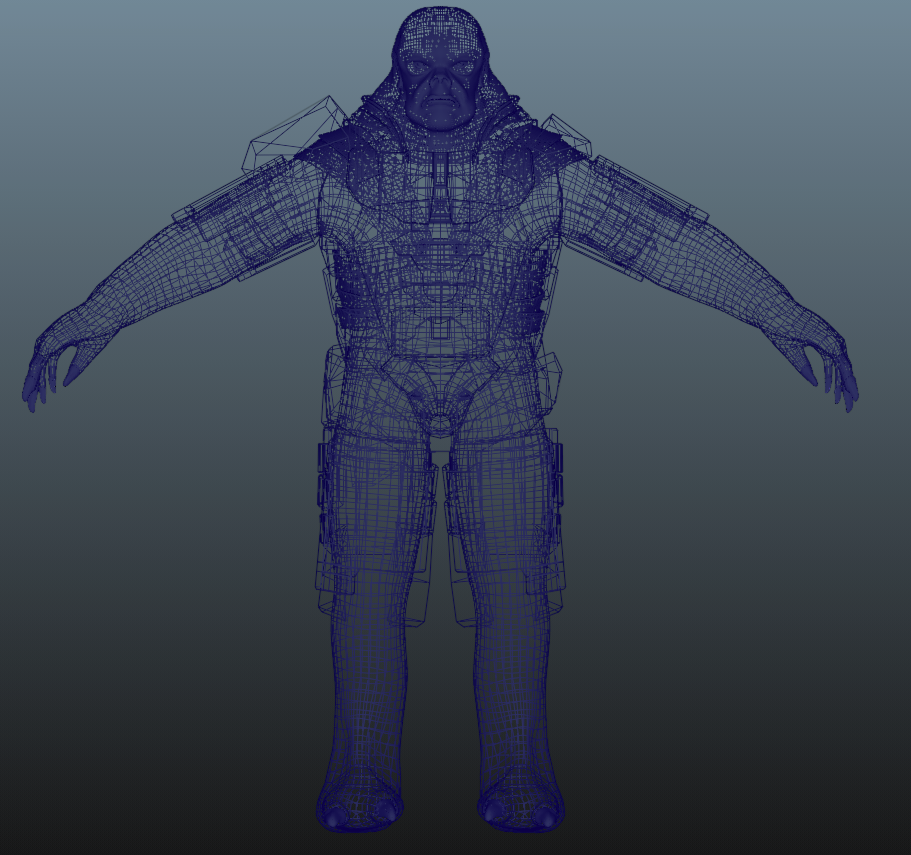
Topology Look
Simple wireframe look in orthographic view to see how i have made each piece. Each piece is done mostly to their simplest form due to them being naturally blocky anyway.
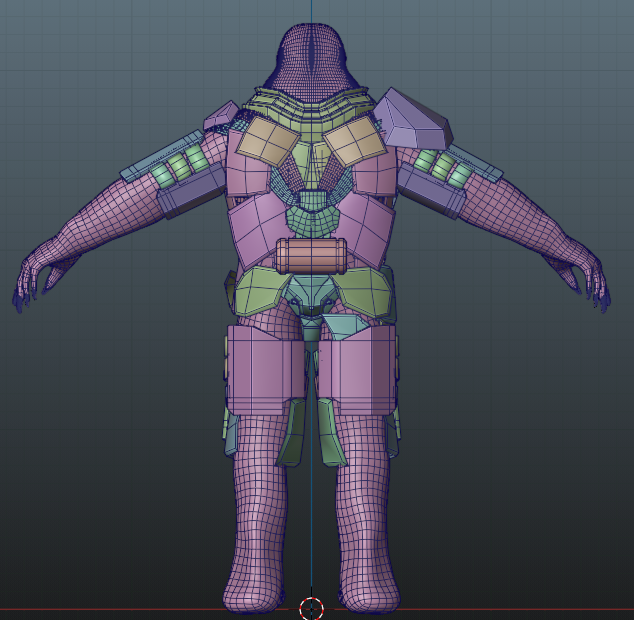
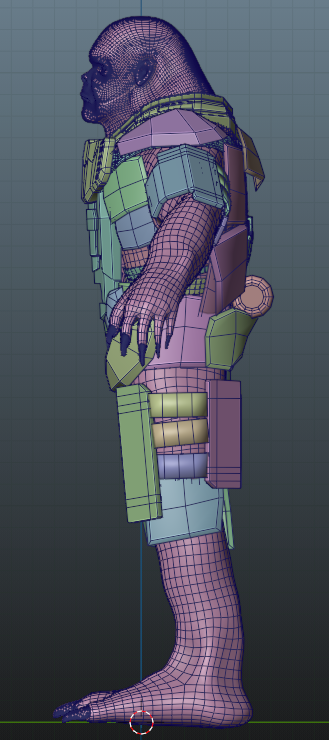
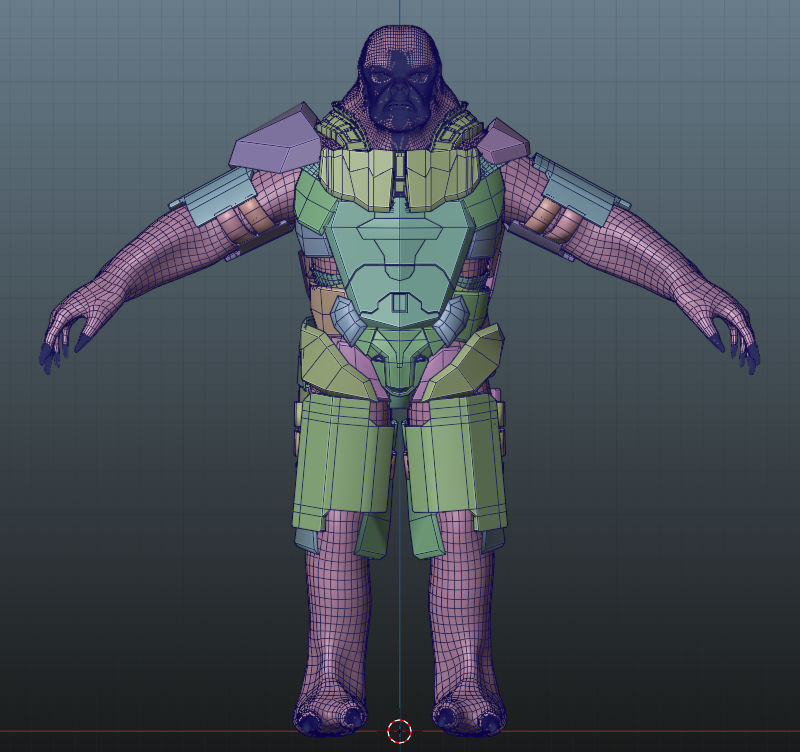
Wireframe
Lighting Setup
Simple tri lighting setup with a 4th light to provide extra light on the face to make it not as dark.
Lighting is one of the most important part to make your character look even more interesting and look good. Poor lighting can make the textures seem flat and boring.
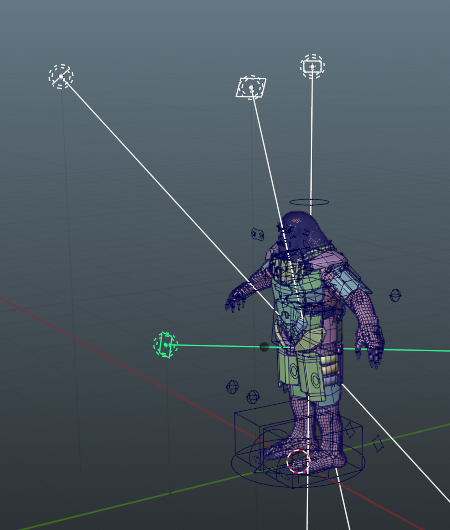
Rig
Using auto rig pro for blender i was able to quickly rig up my character and each part of the face, which makes my rigging better and faster than doing it manually.
However, if i want to properly animate it i have to clean up the weight painting as it struggles in some places due to the character not being a fully human, causing it to misread parts of the model.
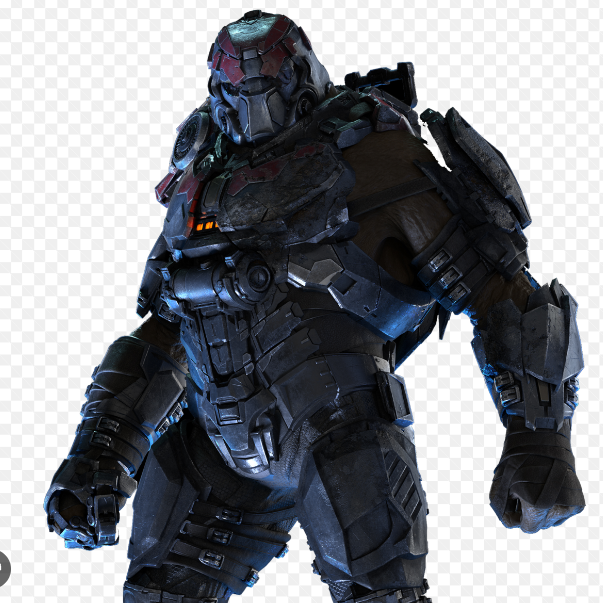
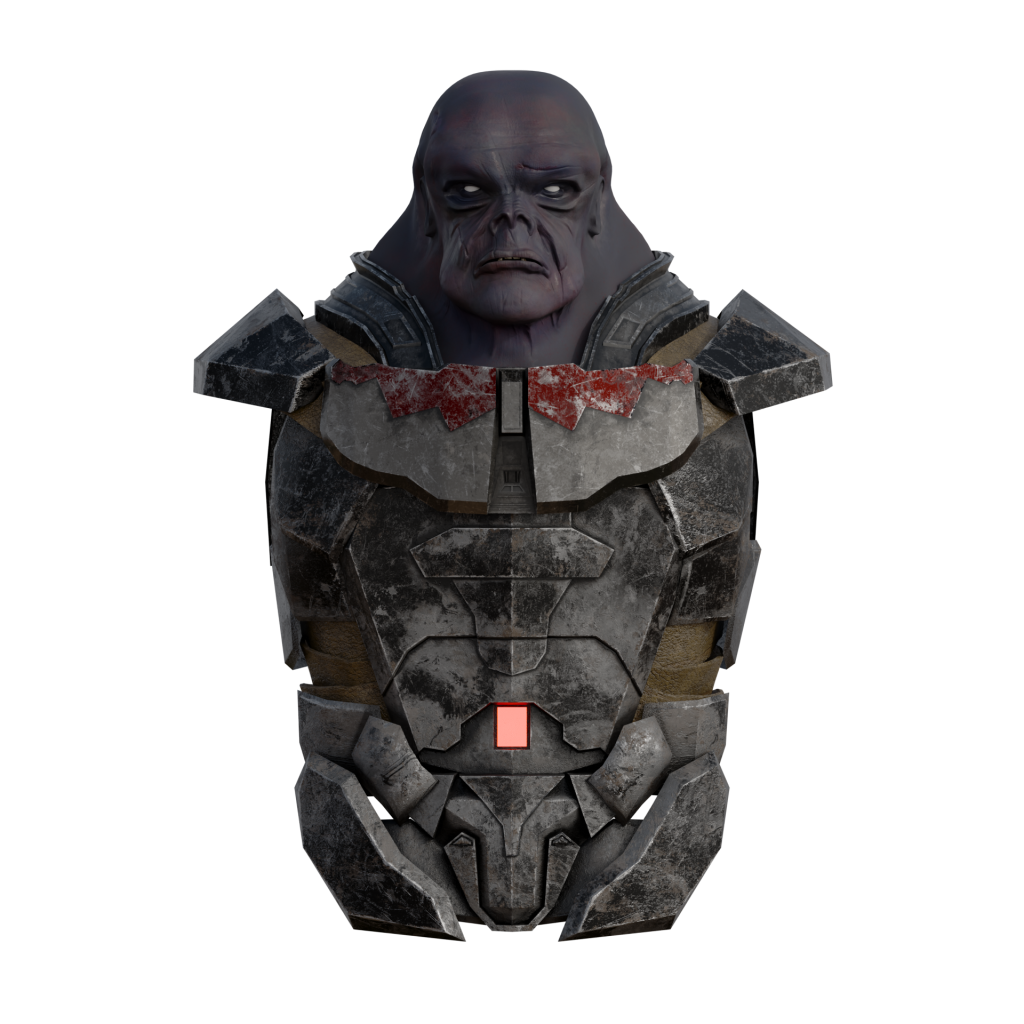
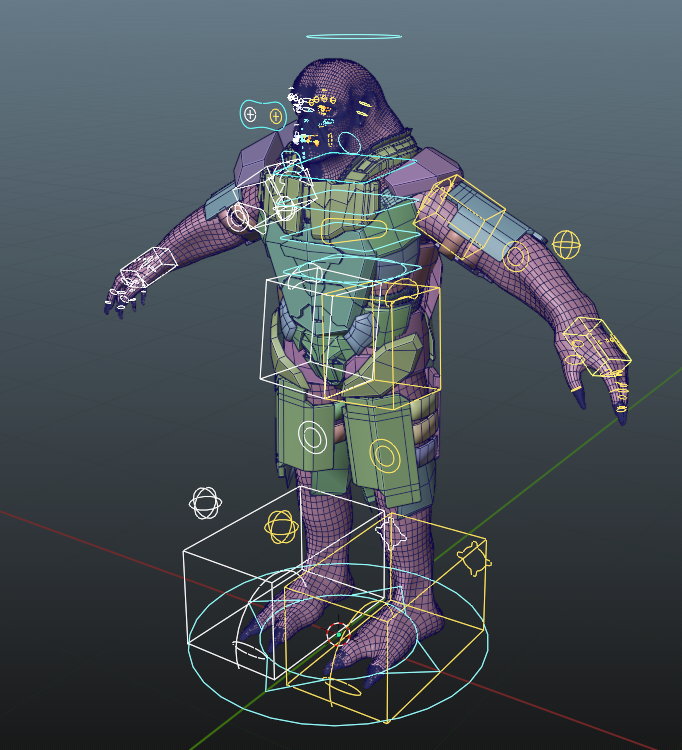
Finished Product
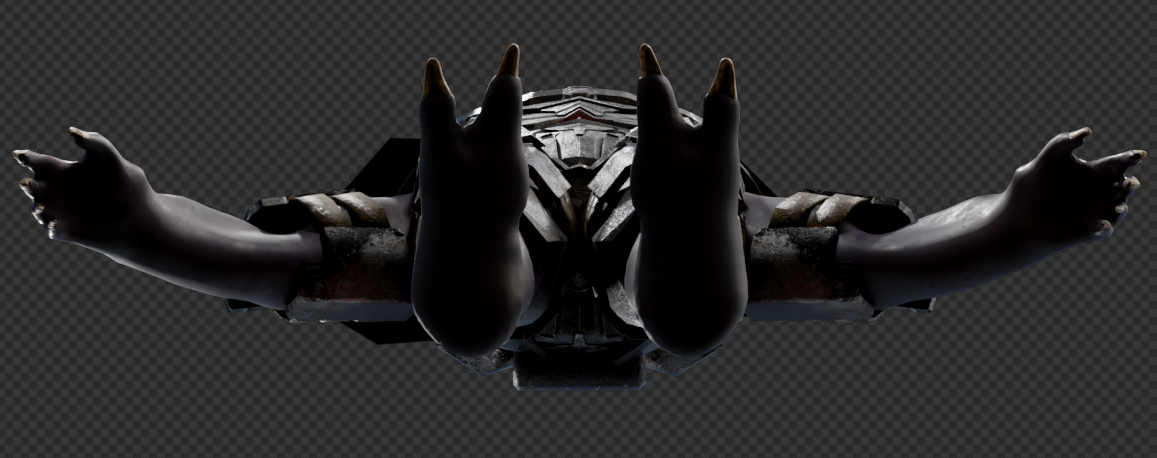
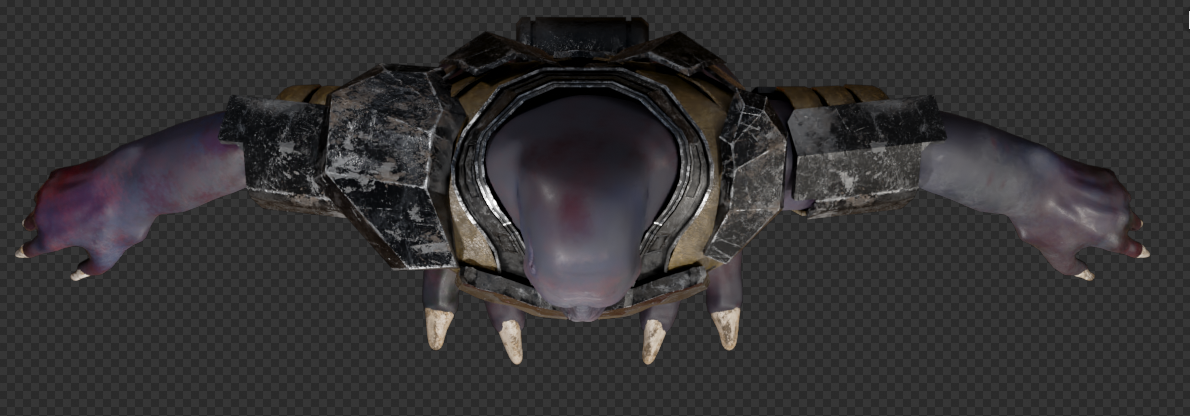
 Being fully rigged allows me to create poses

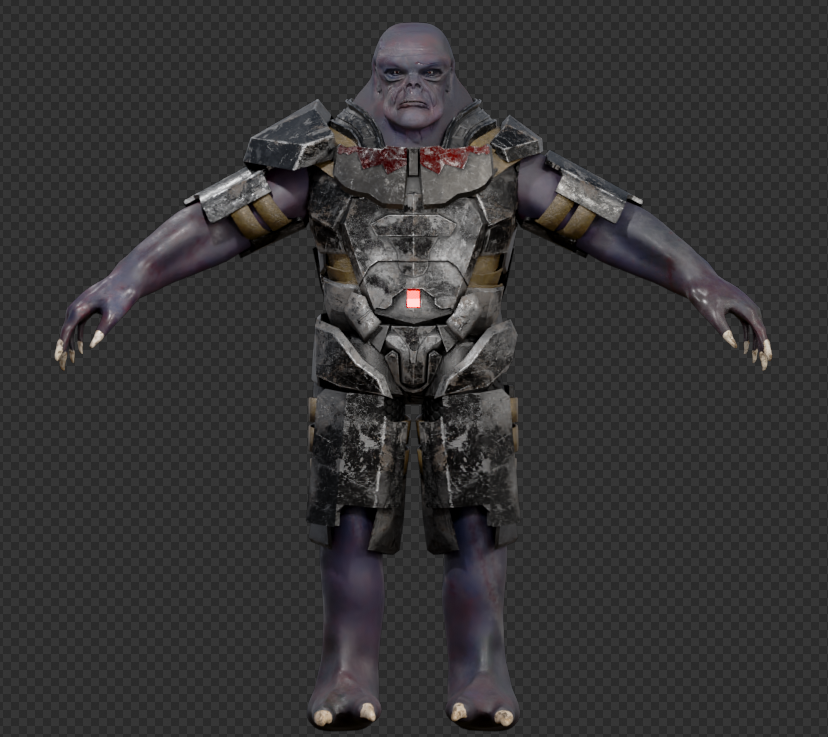
Overall this model is 58,590 Polys and 117,536 Tris. Even though i could optimise everything especially the fingers and toes, i didn’t feel it too important to lose quality until i make animations. If everything is at no subdivision it goes down to around 25,000 polys. When animating next year i will clean up all unmerged geometry and making all the nails to an appropriate poly count to make the animation easier to get under control. However, for now i just want the best looking model i can make, with the best textures for what i need them for.
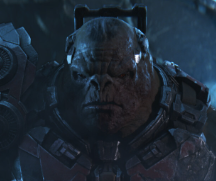
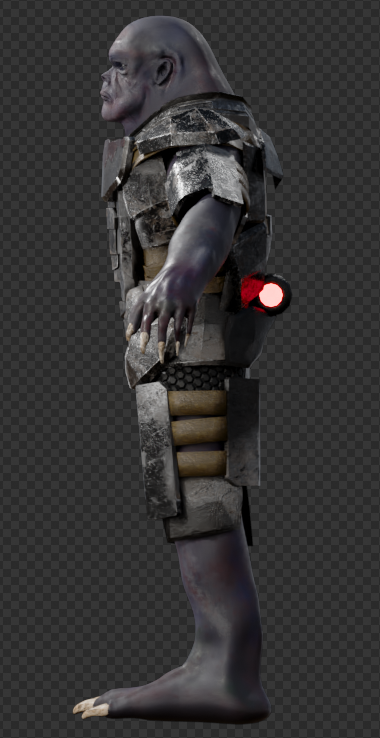
Simple turn table of my character Rtas ‘Vadum. It shows of most angles of my character.
Reflection
When compared the concept sketch and the final product i feel like i made it relatively close, however the legs were slightly different as i no longer covered up the knee caps. Also i wanted to add in a robotic arm, however that grew to be too difficult for someone at the skill level of me at this present time with how little time i made this character.
I feel like if i didn’t stay with the bucket head idea for so long i might of been able to make the exact thing that i would of liked to make, but in the end the result i came out with is acceptable and i like the general design for it. I feel like the end result is at a good standard for what I’m capable of at this time.
I wish i could’ve put some better work into the actual armour geometry, i feel like some bits felt a bit bland and boring. But overall i think it works well for the design.
References
343 Industry’s / Creative Assembly (2017) Halo wars 2 [Video game]. Available online: https://www.xbox.com/en-GB/games/store/halo-wars-2/9NBLGGH5WMKM [Accessed 20/12/2023].