For FELICITY WILCOX as they asked on Teams and this is the easiest way to explain without missing anything.
Introduction
Since there is only two different 3d software packages that we are probably going to be using I will only be using Blender, but if your using MAYA, just export your fbx file into blender and you can use this post as guidance. I should start of by saying this is just how I usually do this sort of stuff and it works quite well.
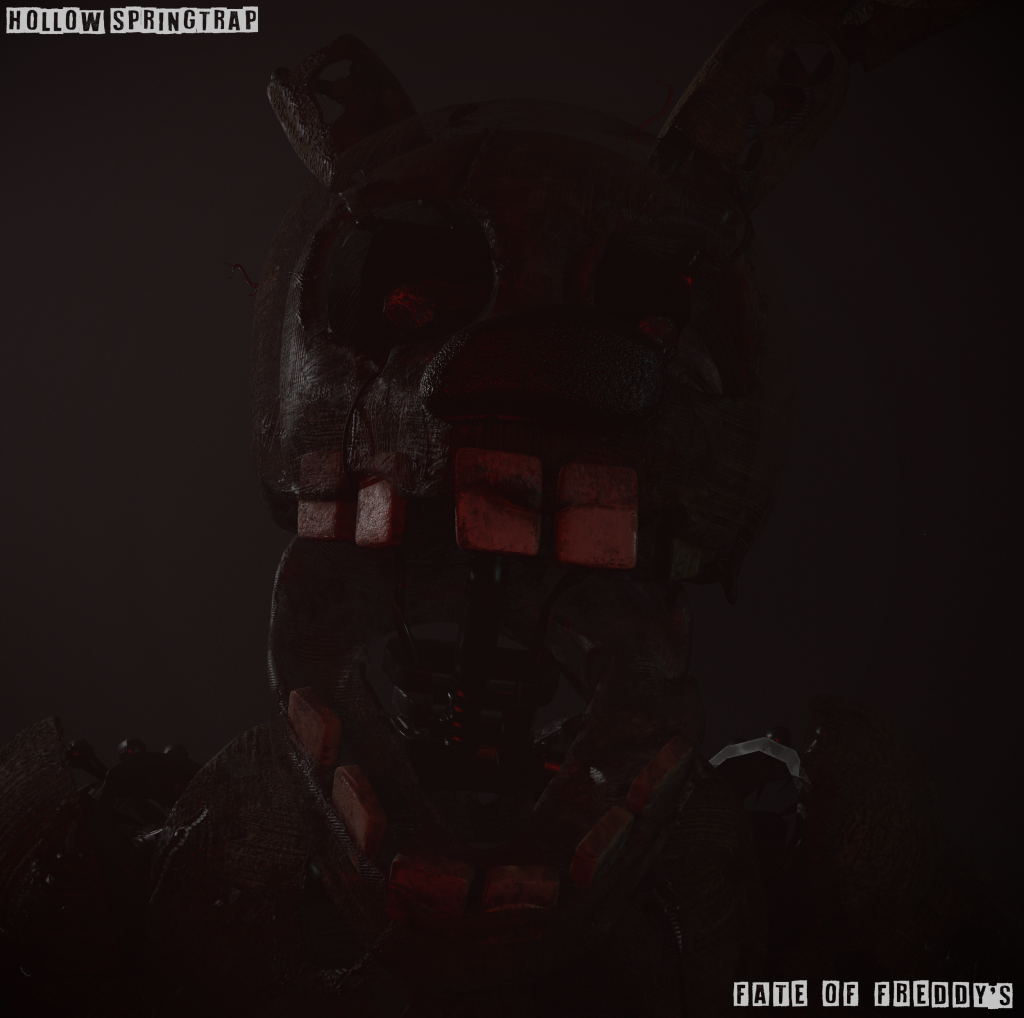
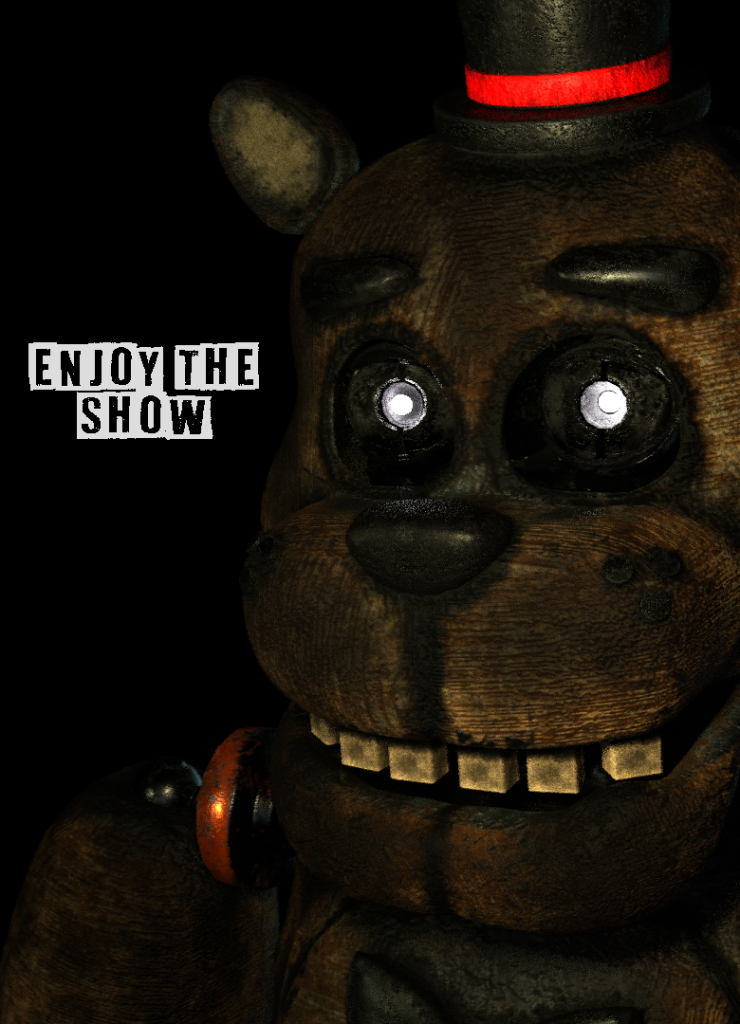
Here are some examples of my work:
Blender:
I started off by recreating your scene within my 3d software of choice.
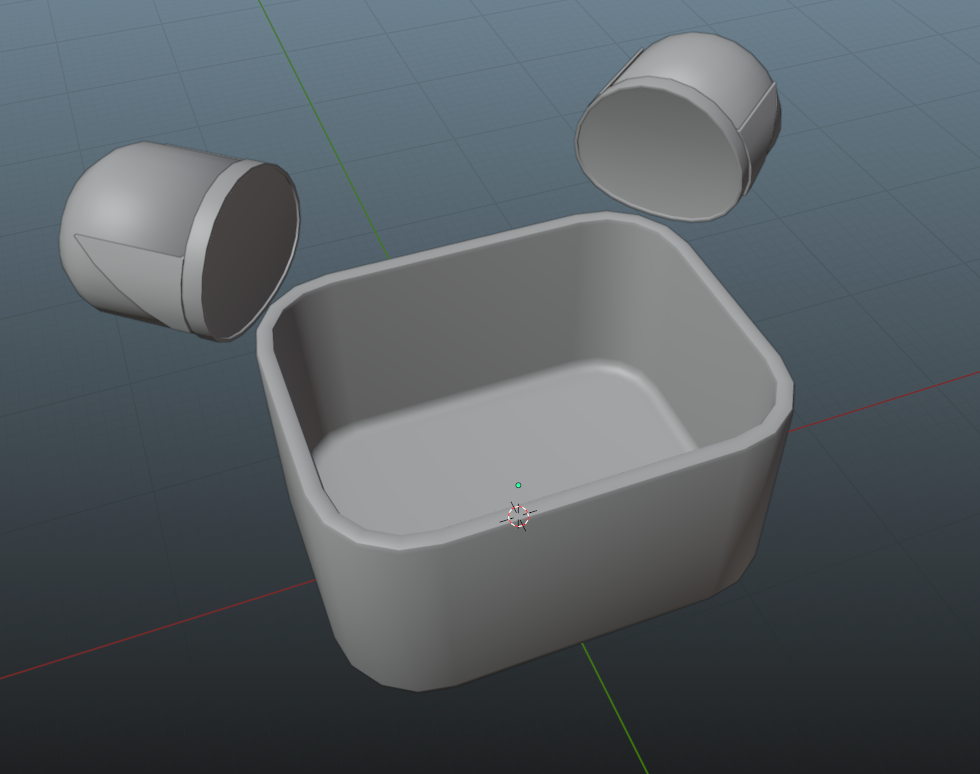
I did this to make it as accurate to your problem as possible. As said in the teams chat someone expects it to be an overlapping issue. However, sometimes this is not the case and sometimes the UV’s are simply too close to each other and the brush bleeds into the other UV.
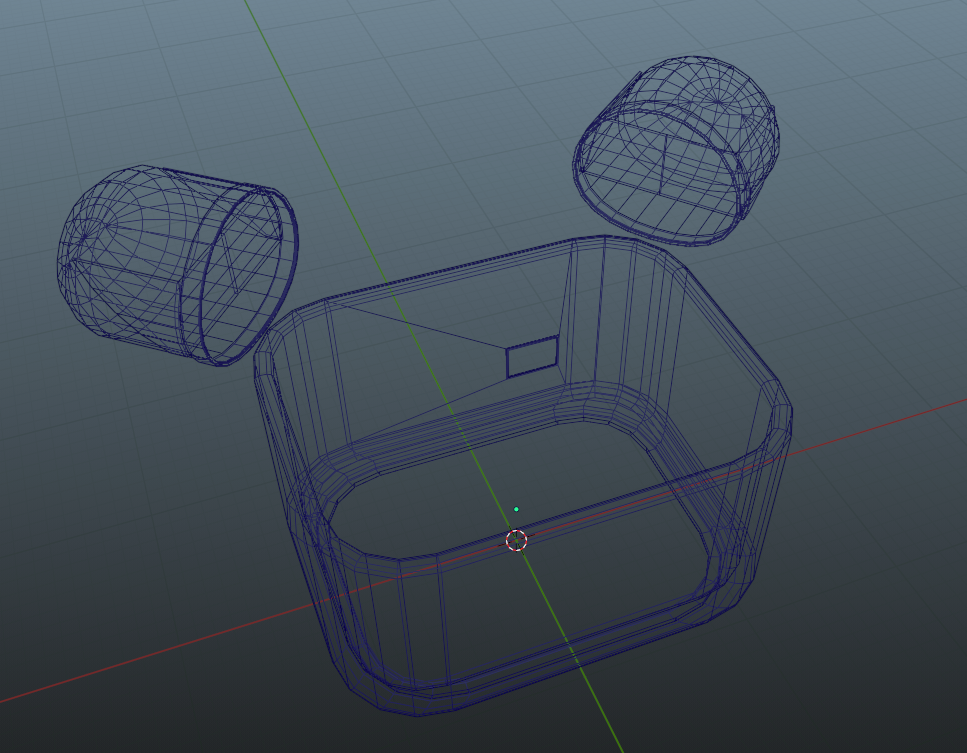
Making sure good topology is here is crucial due to shading and also texture quality. it also makes the UV unwrapping process easier.
Unwrapping (Blender)
There are many ways to unwrap but the two most important ways are manual adjustments (meaning you tinker the UV’s manually and sew them together manually) Pro: perfect UV’s. Con: Takes a lot of time. The other way is to automatically UV unwrap, Pro: Very fast. Con: can leave visible seems. Most of the time automatic is the way to go, as many times the seems are not visible or can be hidden, and it makes the textures always the correct sizes (as long as you set the scale on the mesh).
I will only do the box so that it is faster to explain.
Automatic Unwrapping
This is my go to option with most things unless I am working with models that need manual adjusting.
First of all go to the UV editing tab at the top of the screen.


The screen will look something like this. The left are your UV’s and the right is your mesh. It will show all the UV’s you have selected. Alternatively, you can use the button with the arrows at the top left to always show all UV’s on the selected mesh.

From this you have to select the entire mesh and press U to bring up unwrapping options and press Smart UV Project.


Afterwards it will look something like this:

None of these are overlapping and it is pretty much done. However, if you have a packaging addon like UV PackMaster 3 you can make it a lot better in most cases. For example this is done with UVPackmaster3 and it fill most of the area while keeping proper scales:

Manual
I will start of by saying I never use this option but I will say the basics that I know.
First of all go to the UV editing tab at the top of the screen.


The screen will look something like this. The left are your UV’s and the right is your mesh. It will show all the UV’s you have selected. Alternatively, you can use the button with the arrows at the top left to always show all UV’s on the selected mesh.

From this you have to select the entire mesh and press U to bring up unwrapping options and press Unwrap.
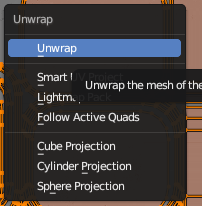
This gives you all the base geometry displayed like this, from here you can take all the individual faces or vertices or edges and adjust them to your liking. This is good for if you need to adjust the scale of some objects to make them take less texture quality. Good for if you have a big object and a small object but the small object takes up most the space.

SubstancePainter
After exporting all materials and objects to substance painter you should have a scene like this:
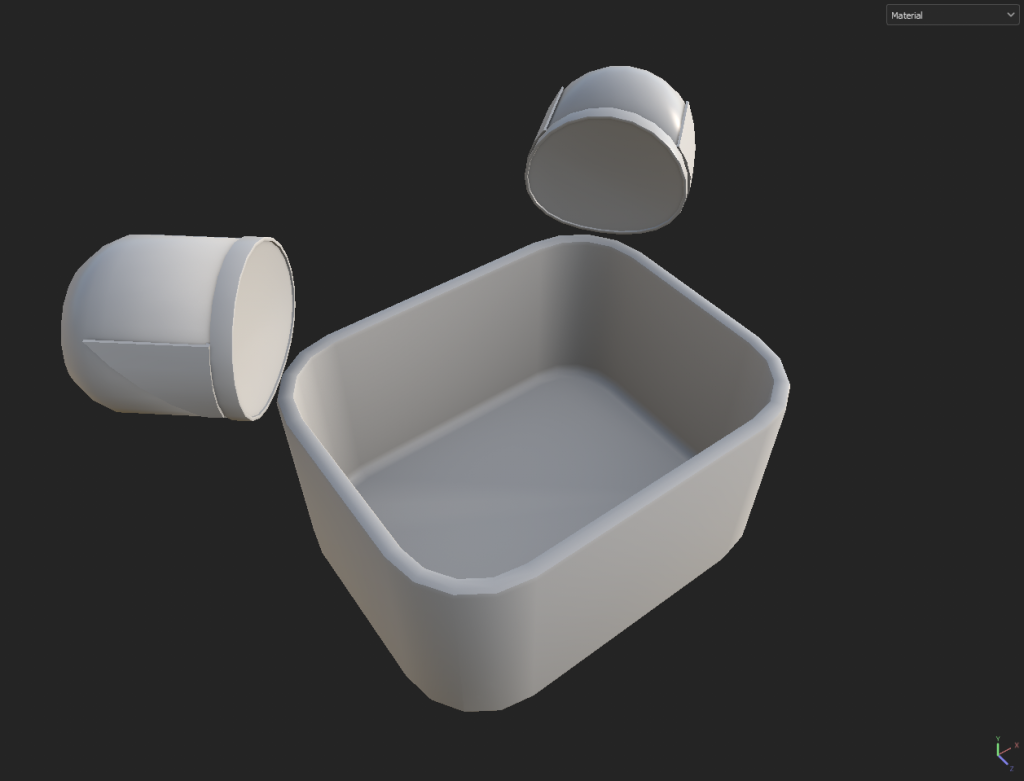
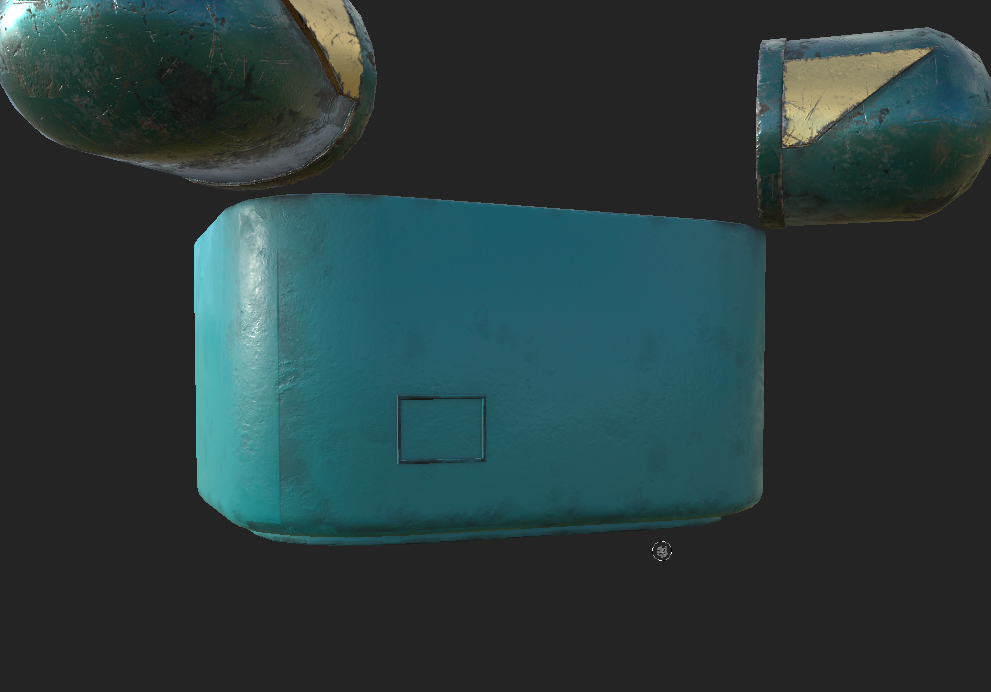
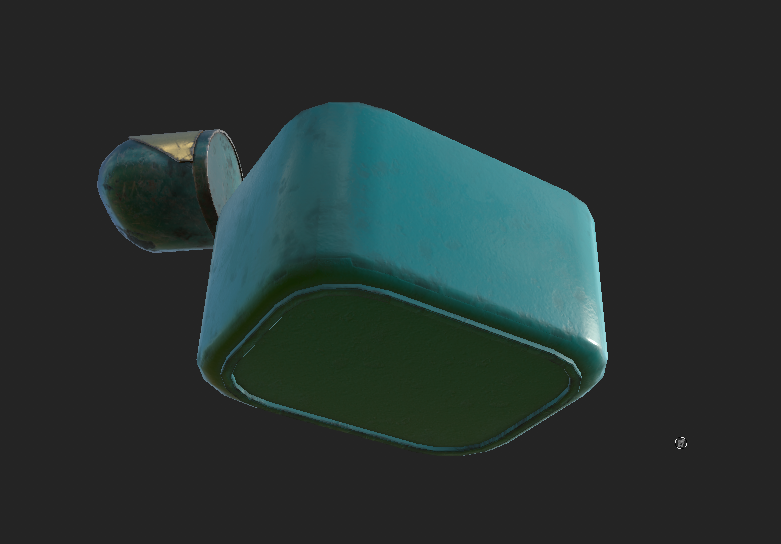
After recreating your base scene I ended up with this, I added some smart materials I had made to make it slightly better.
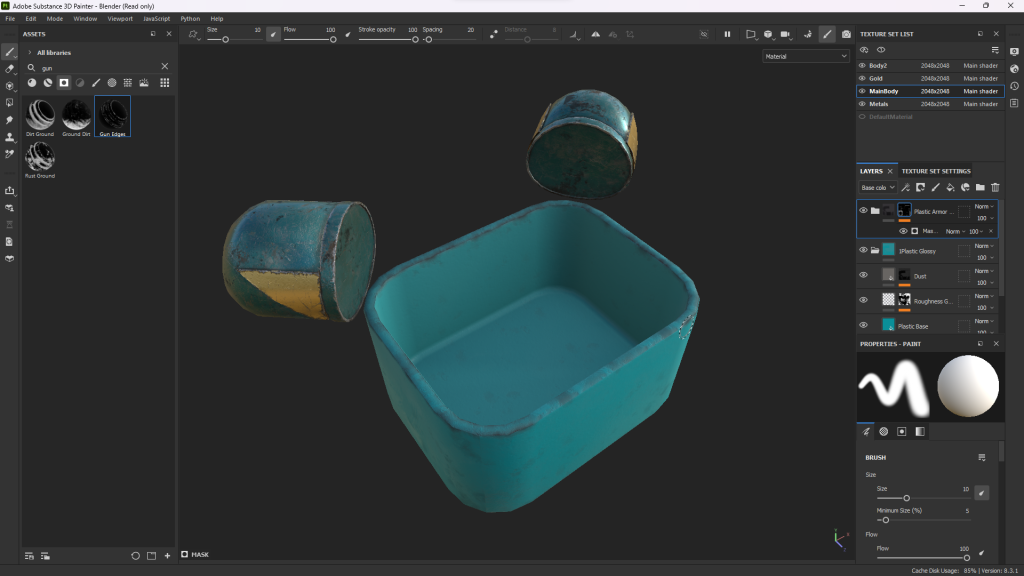
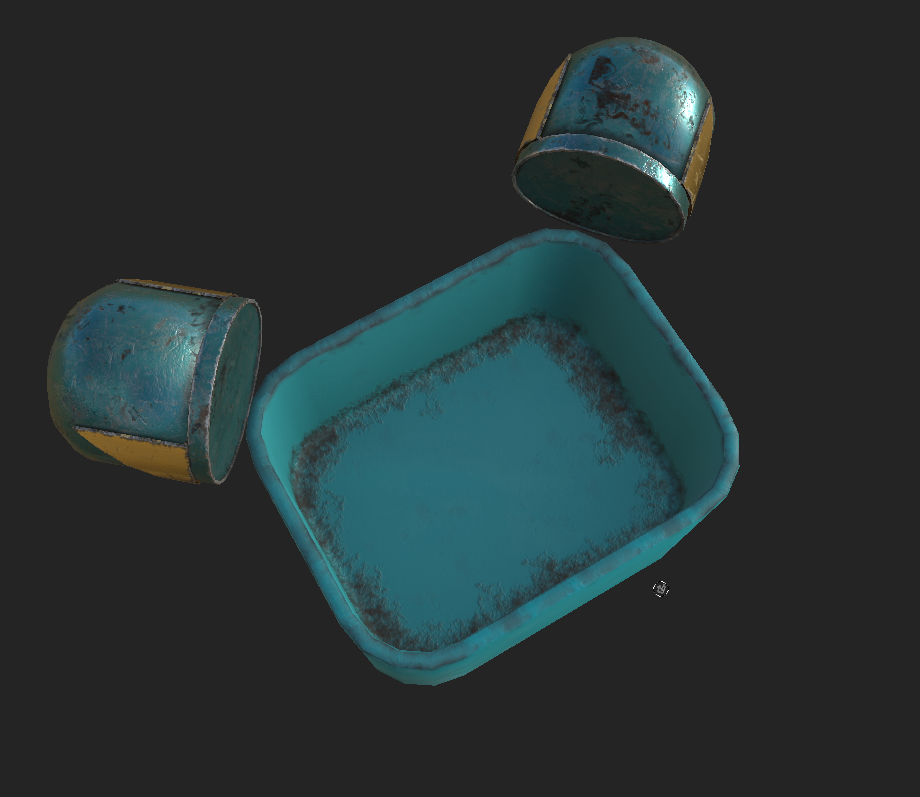
If you followed the unwrapping process you should be able to draw anywhere without it bleeding into other parts. I added dirt into the middle to show that it didn’t get anywhere I didn’t paint.
Conclusion
I hope this helps you, if you have any further problems I would be glad to help you or anyone else who needs help 😀